Making a Large Stepped Lidded Jar — From Start to Finish
TLDRThe video script documents the intricate process of creating pottery, from the preparation of reclaimed clay to the final firing. It details the meticulous steps of wedging, centering, and shaping the clay, as well as the challenges of trimming and glazing. The potter's journey is filled with trial and error, learning from imperfections, and refining techniques to achieve a final product that is both functional and aesthetically pleasing. The narrative highlights the artistry and craftsmanship involved in pottery, emphasizing the importance of patience, precision, and the transformation of raw materials into finished works of art.
Takeaways
- 🎨 The process of creating pottery involves both successes and failures, with the outcome sometimes only apparent after firing.
- 🚶♂️ Wadding up clay is essential to remove air pockets and achieve a consistent texture before throwing on the wheel.
- 🎯 Centering the clay thoroughly ensures proper alignment of particles and eases the throwing process.
- 🌐 The throwing back technique allows for easy removal of the pot from the wheel without distortion.
- 🏺 The formation of the pot's walls is a gradual process, with attention to angle and thickness to prevent issues during firing.
- 🌈 The trimming process refines the pot's shape, with care taken to avoid uneven walls or excessive thinning.
- 🔧 Measuring and adjusting the pot's components, like the lid, ensures a precise fit.
- 🌿 The drying phase, termed 'bone dry', is crucial before firing to ensure the clay is moisture-free.
- 🔥 The bisque firing hardens the clay, making it non-absorbent and ready for glazing.
- 🎨 Glazing is a meticulous process that involves waxing certain areas to control where the glaze applies.
- 🔥 The reduction firing process in a gas kiln creates unique glaze colors and surfaces not achievable with electric kilns.
Q & A
What is the primary focus of the video?
-The primary focus of the video is the documentation of the creation process of pottery, specifically the making of larger lidded jar forms from reclaimed clay.
Why is it important to wedge the clay before throwing it on the wheel?
-Wedging the clay is crucial as it removes air pockets, mixes the soft and hard clay together, and ensures a uniform texture, which is essential for a smooth throwing process and prevents the formation of thin patches and inconsistencies in the walls of the pot.
What is a 'throwing back' and how does it benefit the potter?
-A 'throwing back' is an additional platform attached to the top of the wheel head, often made of MDF. It allows the potter to remove only the pot itself from the wheel head after the potting process, preventing distortions and making it a neater process.
How does the potter ensure the clay is centered and aligned during the throwing process?
-The potter cones the clay up and down numerous times to align the minute particles and placelets, which helps the throwing process and makes the stoneware easier to move around as it becomes more plastic and holds its shape better.
What is the significance of the initial wall formation in determining the final shape of the pot?
-The initial wall formation is significant as it sets the foundation for the pot's shape. Keeping the walls angling inward slightly helps in controlling the form and makes it easier to throw a pot with a cylindrical shape, whereas angling outward would require constant correction and could introduce stress into the walls, increasing the chances of them buckling or twisting.
How does the potter refine the walls of the pot during the throwing process?
-The potter refines the walls by repeatedly pinching into the thicker clay around the base and moving both hands up at a steady and even rate, forcing the thicker clay walls through a thinner gap between the fingers. This process is repeated until the walls are tall and evenly thin.
What is the purpose of using a sponge during the wall-thinning process?
-A wetted sponge is used to keep the clay hydrated, allowing it to run through the fingers smoothly without sticking to the clay. This helps maintain an even pace and consistency during the wall-thinning process.
How does the potter create the shoulder and rim of the pot?
-The potter creates the shoulder and rim by focusing on the final form, which involves throwing the part that will cool the shoulder inwards and forming the rim. This is done very gently using the tip of the finger to make a more defined change in angle.
What is the purpose of trimming the pot and how does it refine its form?
-Trimming the pot is done to refine its form by removing excess clay, straightening the walls, and generally refining the overall shape. It also helps in preparing the pot for the glazing process by leaving a drier surface.
How does the potter ensure a perfect fit for the lid of the pot?
-The potter ensures a perfect fit for the lid by centering the lid, securing it in place, and then testing to see whether the jar fits. The lid is initially thrown to be slightly larger than needed, and once leather hard, any excess is trimmed away for a perfect fit.
What is the significance of the reduction firing process in the kiln?
-The reduction firing process, which involves firing the kiln in a state of reduced oxygen, is significant as it leads to unique surface colors and textures that are difficult to replicate in an electric kiln. It allows for a different world of surfaces and colors, enhancing the final appearance of the pottery.
Outlines
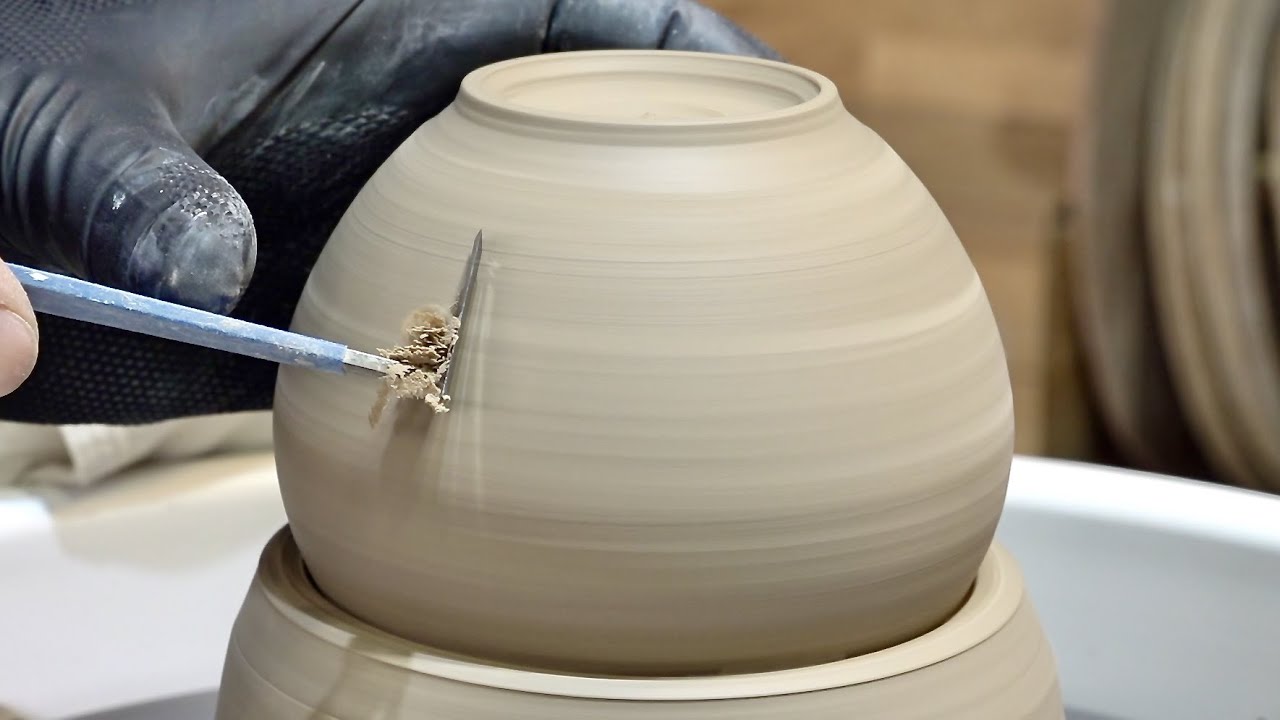
🎨 The Art of Pottery: Crafting the Clay
This paragraph delves into the meticulous process of creating pottery, highlighting the importance of wedging clay to remove air pockets and achieve a uniform texture. It describes the use of reclaimed clay, the challenges of working with its inconsistent texture, and the method of centering the clay on the wheel. The paragraph also explains the technique of throwing a throwing back, which involves an additional platform on the wheel head, allowing for easy removal of the finished pot. The focus is on the careful manipulation of the clay to form a well and the internal base of the jar, emphasizing the need to avoid creating thin spots that could lead to failure during the later stages of trimming, glazing, and firing.
🌀 Shaping the Vessel: Wall Formation and Control
This section continues the pottery process by detailing the formation and shaping of the pot's walls. It explains the careful process of pulling up the walls, the importance of maintaining a consistent angle, and the technique of coloring the form to keep the shape under control. The paragraph discusses the creation of straight walls with a defined shoulder and rim, and the strategic use of a sponge to keep the clay hydrated. It also touches on the challenges of maintaining consistent throwing rings and the importance of steady, slow movements to avoid distortions. The process of creating a bump and lifting it towards the rim is described, as well as the anticipation of the final form of the pot.
🔪 Trimming and Refining: The Transformation of Clay
This paragraph focuses on the intricate process of trimming and refining the pottery piece. It begins with the removal of excess slip and the use of calipers to measure the pot's opening. The paragraph then describes the creation of a lid, the importance of centering, and the process of trimming both the lid and the pot to ensure a perfect fit. The challenges of trimming internal forms and the recycling of clay trimmings are also discussed. The paragraph emphasizes the careful attention to detail required to achieve a high level of finish, the strategic planning of drying times to ensure proper fitting parts, and the final steps of burnishing and stamping the pot with the maker's mark.
🖌️ Glazing and Firing: The Final Touches
This section details the final stages of pottery making, including the application of glaze and the firing process. It explains the use of wax to protect certain areas of the pot from glaze, the careful dipping and cleaning of the pot's exterior, and the strategic waiting period before glazing the interior. The paragraph also discusses the importance of a clean workbench to minimize waste and the meticulous process of cleaning and preparing the rim and base for glazing. The challenges of glazing a delicate surface and the need for a smooth, even finish are highlighted. The paragraph concludes with the preparation of the pot for the reduction firing process, emphasizing the careful handling required to avoid damaging the fragile glaze surface.
🔥 The Kiln Experience: Firing and Unveiling
This paragraph describes the process of firing the kiln and the anticipation of the final results. It covers the preparation of the kiln, the careful placement of pots, and the challenges of packing the kiln like a three-dimensional puzzle. The paragraph explains the use of natural gas for firing, the control of the kiln atmosphere, and the reduction process that leads to unique glaze colors and surfaces. The manual operation of the kiln and the importance of constant attention to ensure proper firing are emphasized. The paragraph concludes with the moment of opening the kiln, the inspection of the fired pots, and the reflection on the learning process and improvements for future pottery creations.
🎉 Reflection and Appreciation: The Journey of Creation
In this final paragraph, the creator reflects on the pottery-making process, acknowledging the areas of the final product that were less than ideal and expressing a commitment to improve in future iterations. The paragraph conveys a sense of gratitude for the viewers who followed the entire process and emphasizes the continuous learning and refinement that characterizes the craft of pottery. It ends on a positive note, with the creator looking forward to sharing more of their work in the coming weeks.
Mindmap
Keywords
💡Pottery
💡Wedging
💡Throwing Back
💡Centering
💡Trimming
💡Glazing
💡Firing
💡Reduction Firing
💡Wadding
💡Kiln
💡Pyrometric Cones
Highlights
The process of making pots involves both success and learning from less successful attempts.
Using soft reclaimed clay requires thorough wedging to remove air pockets and achieve a consistent texture.
Throwing pots on a throwing back allows for easy removal of the finished piece without distortion.
Centering the clay on the wheel aligns particles and makes the stoneware more pliable and easier to shape.
Creating the base of the pot involves pushing down with the thumb and index finger to form a well and then gliding fingers to form the internal base.
Pulling up the walls of a pot involves a steady and even pace to maintain consistency and avoid stress on the clay.
The walls of a pot should angle inward slightly for easier control during the throwing process.
Removing excess slip from the walls of the pot helps it dry more quickly and refines its form.
Throwing the lid of a pot involves creating a flange that will fit into the jar and ensuring a snug fit.
Trimming the pot involves thinning and straightening the walls, and refining the overall shape carefully.
The process of glazing involves careful application to achieve a smooth and even finish on the pot.
Waxing certain areas of the pot before glazing prevents those areas from absorbing the glaze.
Firing the pot involves a reduction process that changes the surface and color of the glaze.
Loading the kiln for firing is a careful process that requires attention to detail to prevent damage to the pots.
The pot-making process involves a cycle of learning and improvement with each iteration.
The final step of removing the lid reveals the completed pot, with some minor imperfections that provide valuable lessons for future projects.
Transcripts
Browse More Related Video
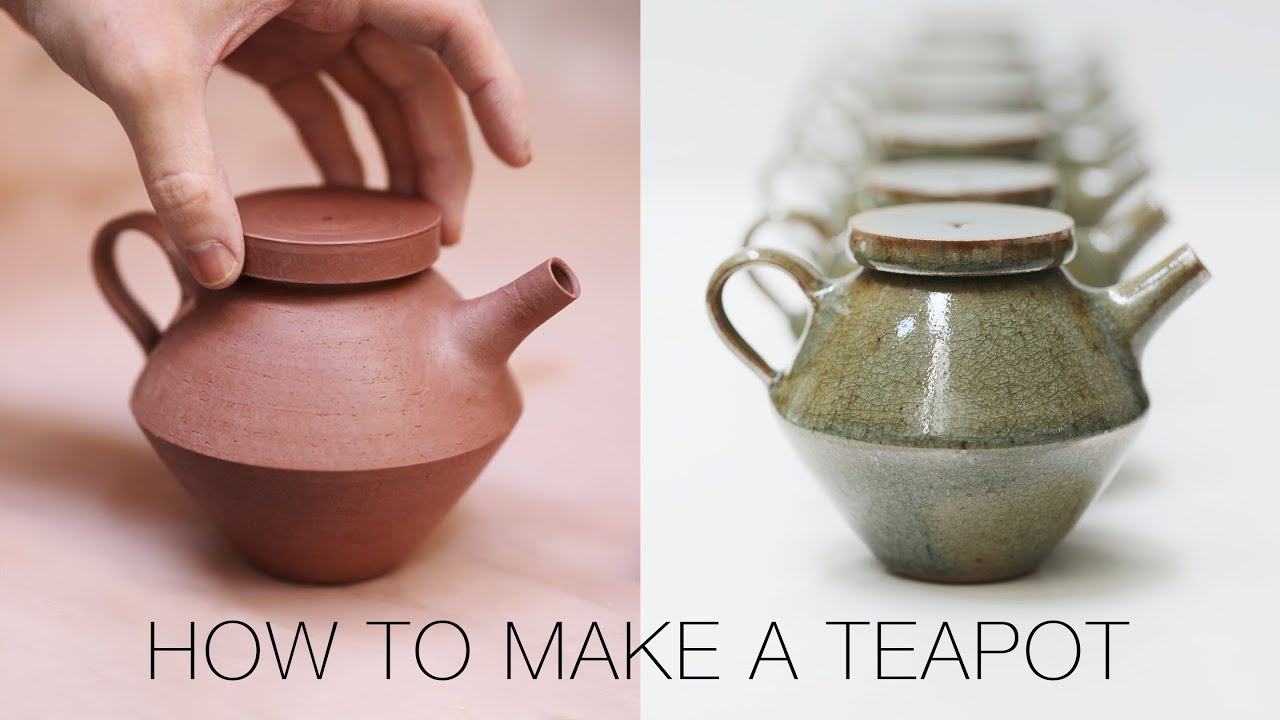
How to Make a Ceramic Teapot, from Beginning to End.
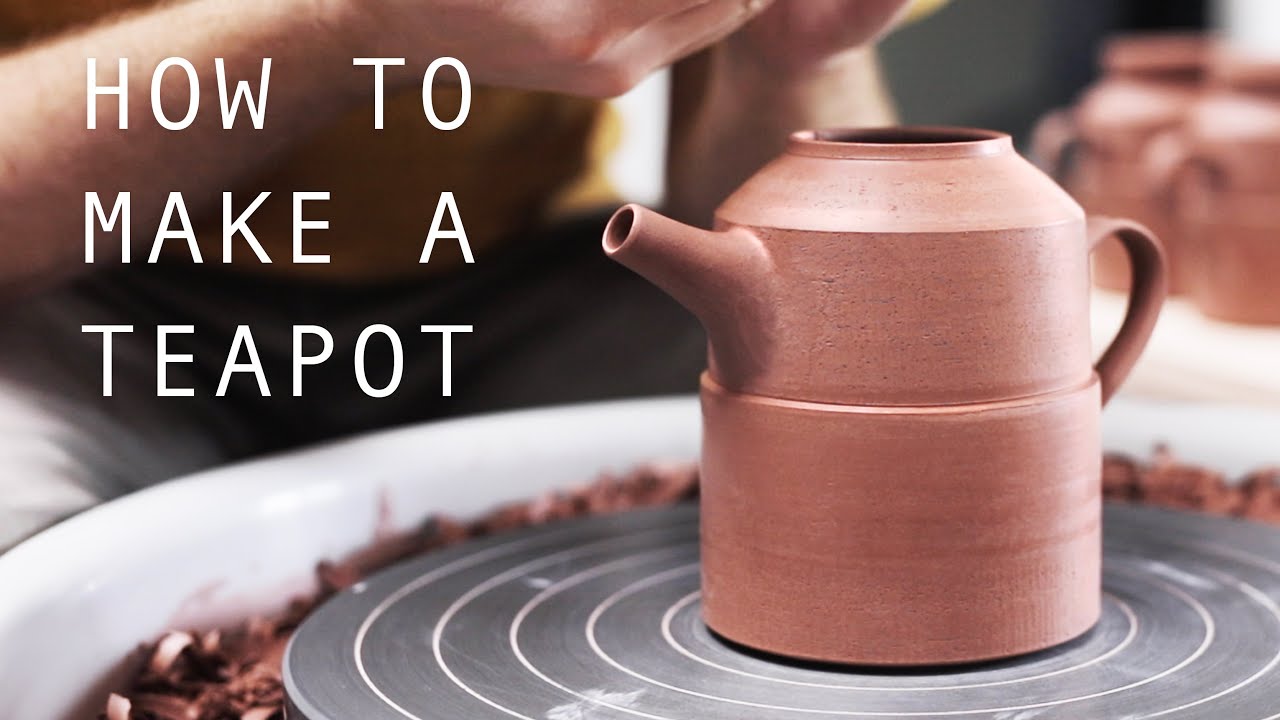
How to Make a Pottery Teapot from Start to Finish

How to Centre Clay and Throw Pots on the Pottery Wheel
How to Make Luxury Traditional Teapot by Delicate Korean Pottery Craftsman

How a Handmade Pottery Cup is Made from Beginning to End — Narrated Version
Why 11 Of The World's Priciest Items Are So Expensive | So Expensive Season 11 | Insider Business
5.0 / 5 (0 votes)
Thanks for rating: