How to Centre Clay and Throw Pots on the Pottery Wheel
TLDRThis comprehensive guide offers an in-depth look at the art of pottery, focusing on the critical first steps of centering clay on the wheel and forming a pot. The tutorial covers proper wedging, centering techniques, and the importance of creating an even wall thickness. It also delves into the nuances of opening the clay, pulling up walls, and refining the pot's rim for both functionality and aesthetics. The video emphasizes the value of practice and learning from various sources to master the craft of pottery.
Takeaways
- 🎨 Centering is crucial for beginners and involves forcing clay into the middle of the wheel before pot formation begins.
- 🚦 Wedge the clay properly to remove air pockets and achieve an even texture before centering.
- 🤲 Use both hands to apply equal pressure from above and the side during centering, ensuring a smooth, centered lump of clay.
- 📌 The coning process helps refine the centering of the clay by pushing it into a conical shape and then squashing it back down.
- 👀 Keep an eye on your fingertips during centering to detect any wobbles and correct them by squeezing fingers inward.
- 🌟 The opening of the clay is done by pushing two digits into the center and ensuring a base thickness of about 4-5 millimeters.
- 🏺 Form the base by compressing the clay evenly to prevent cracking as it dries, especially important for cylindrical forms.
- 💧 Keep surfaces wet during the pulling process to maintain control and create walls with even thickness.
- 🌀 Pull the walls of the pot by pinching and pulling clay upward in a consistent, gradual motion, avoiding hesitation or irregularities.
- 🔪 Clean up the pot before lifting it off the wheel by removing excess clay and slip, and refining the rim for a comfortable, ergonomic design.
- 🦵 Practice is essential for mastering pottery; don't be discouraged by initial failures and explore different methods to find what suits you best.
Q & A
What is the first step in learning to throw on the potter's wheel?
-The first step in learning to throw on the potter's wheel is centering the clay, which involves forcing the clay into the very middle of the wheel before any of the pot has been thrown itself.
Why is centering crucial in the pottery process?
-Centering is crucial because it is the beginning part of the process and it ensures that the clay is evenly distributed and balanced in the middle of the wheel, preventing issues later on during the throwing process.
How does one prepare the clay before throwing it on the wheel?
-Before throwing the clay on the wheel, it should be properly wedged to remove all pockets of air and achieve an even texture throughout the lump of clay. The clay should also have a rounded bottom to prevent trapping air when placed on the wheel head.
What is the purpose of coning in pottery?
-Coning is a process similar to wedging but done on the wheel. It helps to further ensure that the clay is centered and smooth, with no undulations or irregularities. This makes the subsequent throwing process easier and improves the final shape of the pot.
How does one open up the lump of clay to create the pot?
-To open up the lump of clay, you glide one finger across the top until you find the center of the spiral, then use an index finger and thumb to push into the center, ensuring the base of the clay is about four or five millimeters thick.
What is the importance of the base thickness in pottery?
-The base thickness is important because it helps prevent the pot from cracking as it dries. A properly compressed and even base also contributes to the structural integrity of the pot.
How does one pull up the walls of the clay pot?
-To pull up the walls, you place the pads of your fingers on the inside and a knuckle on the outside of the pot, pinch the two together, and gently pull the clay upward while maintaining a consistent, steady motion.
Why is it important to clean up the pot before lifting it off the wheel?
-Cleaning up the pot before lifting it off the wheel removes excess water and slip from the inside, which helps to prevent the pot from sticking to your hands and ensures it can be placed down neatly without deforming.
How does one ensure a pot has an even wall thickness from top to bottom?
-By practicing and learning the limitations of the clay, one can pull the walls up in a consistent and gradual manner, ensuring an even thickness throughout the pot. It's also helpful to visualize the desired outcome and adjust your technique accordingly.
What are some tips for lifting a pot off the wheel without deforming it?
-Lifting a pot off the wheel should be done with dry hands and a relatively dry surface on the pot. Support the pot from around the base, which has more structural integrity, and lift while spinning the wheel to break any seal. Keep hands steady and level to avoid deforming the pot.
What should be the final appearance of a well-thrown pot?
-A well-thrown pot should have walls that are even from top to bottom, with a base that is not significantly thicker than the rest of the pot. The rim should be smooth and comfortable for use, and the overall shape should be balanced and visually pleasing.
Outlines
🎨 Centering Clay on the Potter's Wheel
This paragraph introduces the fundamental process of centering clay on the potter's wheel, which is crucial for beginners in pottery. It explains the importance of wedging the clay to remove air pockets and achieve uniformity, and the technique of placing the clay centrally on the wheel with a rounded bottom to prevent air trapping. The paragraph details the centering process, involving equal pressure application with both hands to create a smooth, centered lump of clay, and the additional step of 'coning' to further refine the clay's center. Tips are provided on maintaining the clay and wheel head's dryness and the correct hand positioning for effective centering.
🖌️ Opening and Forming the Clay Pot
The second paragraph delves into the steps following centering, which include opening up the lump of clay to create the pot's base. It emphasizes the importance of achieving a uniform base thickness and forming a sharp interior corner for easy clay access during wall construction. The paragraph describes the process of compressing the base to prevent cracking as it dries, and the technique of pulling up the clay walls with fingers and knuckles, maintaining a conical shape to control the clay's natural spreading tendency. The importance of consistent, gentle movements and the impact of these techniques on the pot's final form and stability are highlighted.
🌐 Shaping and Controlling the Clay Walls
This paragraph focuses on the intricacies of shaping the clay walls of a pot, detailing the process of pulling up the walls while keeping them wet for control. The text explains the use of fingers and knuckles to pinch and pull the clay upward, creating a conical shape that helps maintain control. It also addresses the importance of consistent pressure and speed to avoid uneven walls and potential deformation. The paragraph provides advice on practicing the technique through repeated attempts and learning the material's limitations, emphasizing the value of experience in pottery.
🔪 Trimming and Finishing the Pottery
The fourth paragraph discusses the final stages of pottery making, including trimming excess clay from the base and cleaning up the pot's walls and rim. It describes the use of various tools for refining the pot's exterior and the importance of maintaining a comfortable and ergonomic rim shape for use. The text also covers the process of removing excess water from the pot's interior to prevent weakening of the clay and the technique of lifting the pot from the wheel, highlighting the need for dry hands and a clean surface for successful removal.
📚 Reflecting on the Pottery Process
The final paragraph reflects on the pottery process, acknowledging the skill and patience required to learn pottery, akin to learning a language or an instrument. It encourages viewers to watch various tutorials to find different techniques that might resonate with them and to practice extensively. The paragraph concludes with a reminder that pottery involves trial and error, and that persistence and exploration of different methods are key to mastering the craft.
Mindmap
Keywords
💡Centering
💡Wedging
💡Throwing
💡Pulling Up
💡Coning
💡Rim Formation
💡Trimming
💡Shammying
💡Lifting Off
💡Consistency
💡Practice
Highlights
The importance of centering clay on the potter's wheel is emphasized, which is crucial for beginners and essential for successful pottery throwing.
Wedging clay is described as a process to remove air pockets and ensure even texture, which is a fundamental step before throwing on the wheel.
The video provides a detailed tutorial on centering, throwing, and lifting pots off the wheel, along with various tips and tricks learned over the years.
Proper placement of the clay lump on the wheel head is advised, with a rounded bottom to prevent air trapping, which can cause issues later in the process.
The technique of applying equal pressure from above and the side during centering is explained, with the importance of using fingers and palm to create a strong seal with the wheel head.
Coning is introduced as an additional process to help center the clay, which involves forming a conical shape and squashing it back down to eliminate undulations.
The use of water and slip during the process is discussed, with tips on using the slip from the wheel head and avoiding excess water to maintain control.
The process of opening up the lump of clay is described, with tips on finding the center and ensuring the base is of proper thickness.
The importance of forming a sharp interior corner during the opening process is highlighted to ensure excess clay is accessible for wall pulling.
Pulling up the walls of clay is detailed, with emphasis on maintaining a conical shape, consistent pressure, and the connection of hands for stability.
The technique of compressing the rim after each pull is discussed to achieve a thick and sturdy rim, which adds strength to the pot.
The video encourages practice and experimentation with different throwing techniques to understand the material's limitations.
The process of cleaning up the pot before lifting it off the wheel is outlined, including removing excess clay and shaping the rim for ergonomics and aesthetics.
The method for lifting a pot off the wheel is described, with focus on hand placement, ensuring a dry surface, and maintaining the pot's shape.
The video concludes with encouragement for beginners, comparing pottery to learning a language or instrument, and the value of watching various tutorials for different perspectives.
Transcripts
Browse More Related Video
Making a Large Stepped Lidded Jar — From Start to Finish

How a Handmade Pottery Cup is Made from Beginning to End — Narrated Version
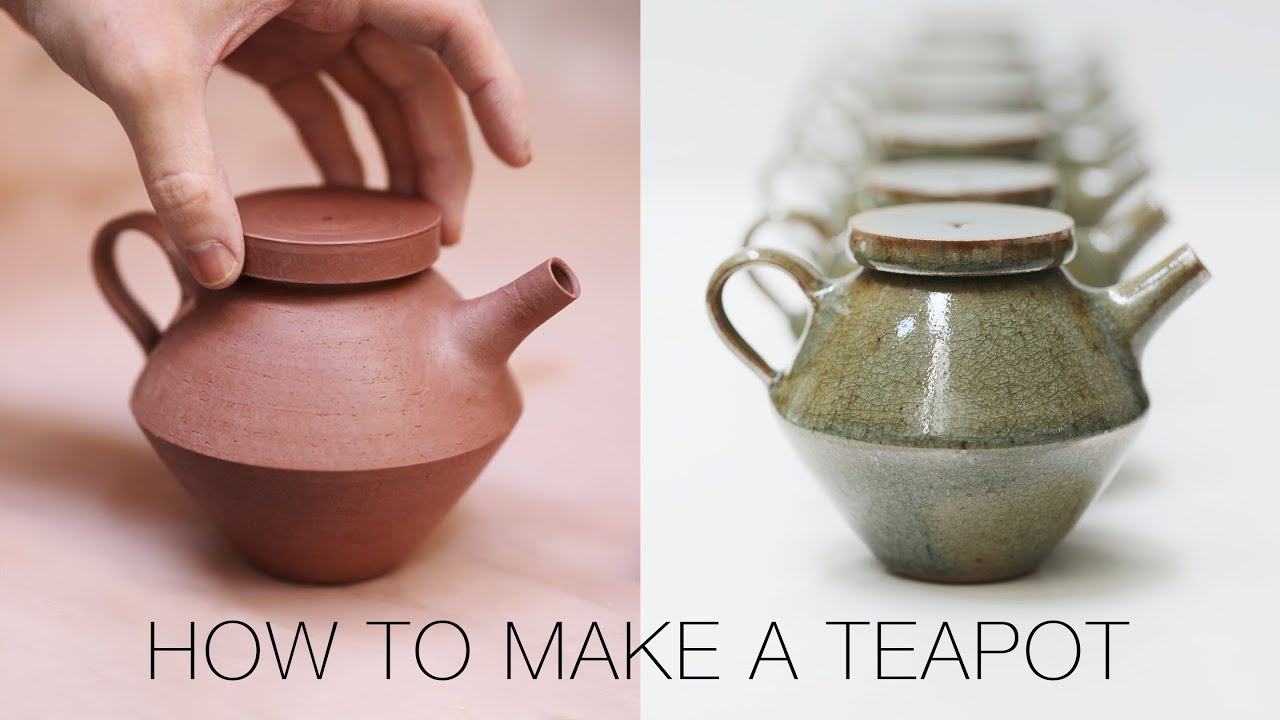
How to Make a Ceramic Teapot, from Beginning to End.
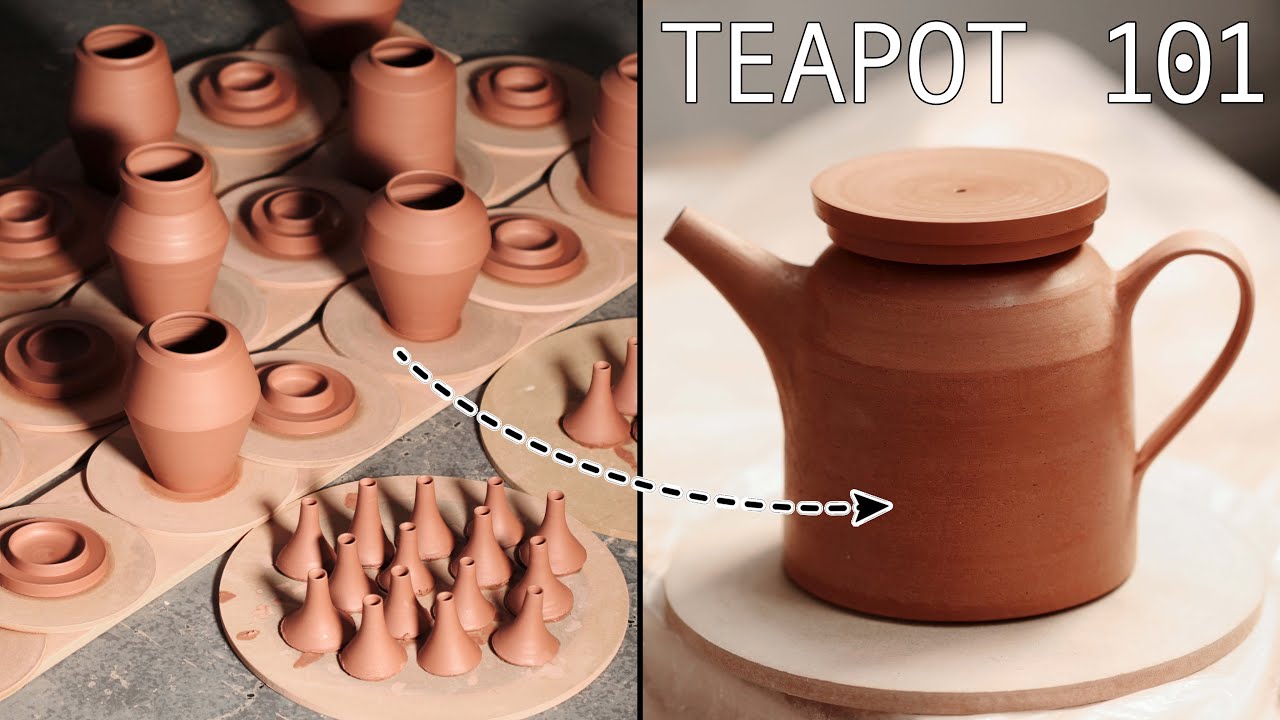
How to Make Teapots 101
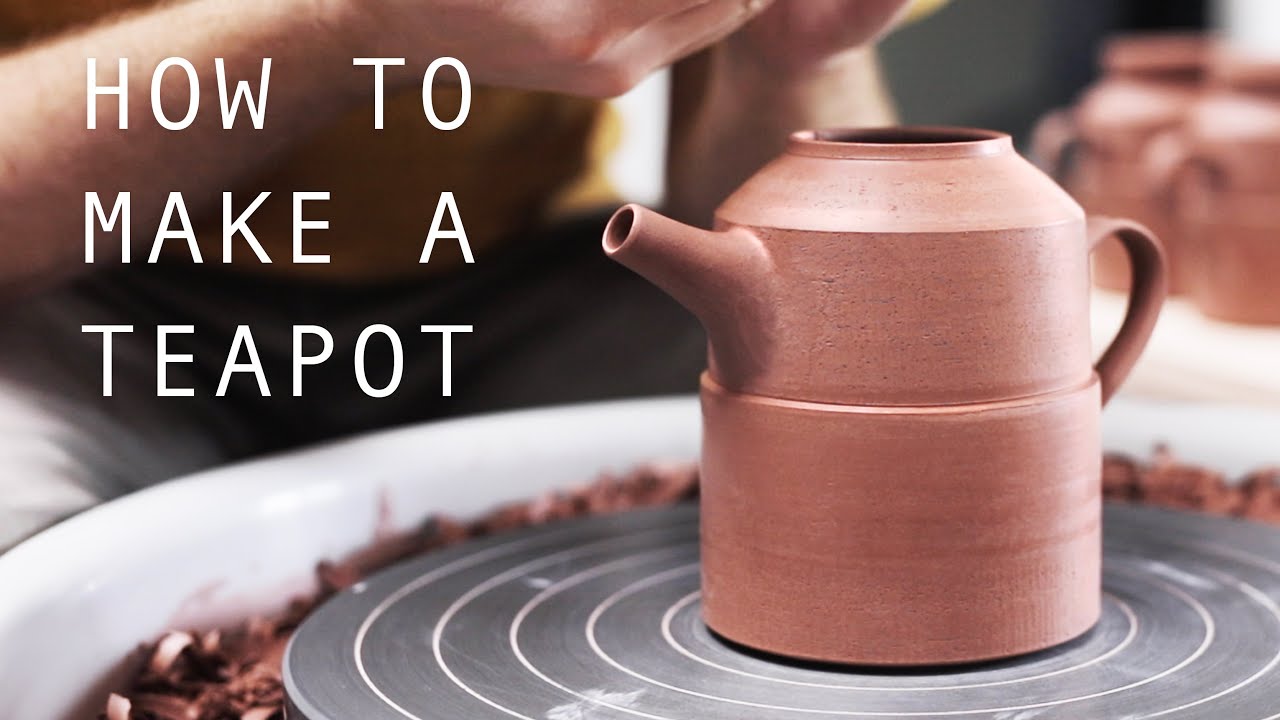
How to Make a Pottery Teapot from Start to Finish
How to Make Luxury Traditional Teapot by Delicate Korean Pottery Craftsman
5.0 / 5 (0 votes)
Thanks for rating: