How a Handmade Pottery Cup is Made from Beginning to End — Narrated Version
TLDRThe video script offers an in-depth look into the meticulous process of crafting coffee cups from clay to the finished, fired product. It begins with selecting and weighing high iron stonework clay, followed by wedging and throwing on the wheel. The cups are then shaped, cleaned, and dried before being trimmed and burnished. Handles are attached using a traditional pulling method, ensuring strong joints. The cups are bisque-fired, waxed, glazed, and finally reduction-fired in a gas kiln, resulting in unique, vibrant colors and textures. The process, though lengthy and labor-intensive, yields beautiful, functional pottery.
Takeaways
- 🏷️ The process of making coffee cups from clay involves multiple stages, starting from raw clay to the finished fired vessel.
- 🔥 High iron stonework clay body is used, specifically designed for reduction firing in a gas kiln.
- ⚖️ Each ball of clay is weighed to approximately 200 grams, with a 10-gram margin for efficiency during throwing.
- 💧 Clay is wedged to remove air bubbles and wrapped in plastic to prevent drying, ensuring a uniform throwing experience.
- 🎳 The throwing process is quick, with each cup taking just over a minute to shape.
- 🛠️ After throwing, the cups are cleaned up, with special attention to removing harsh lines and achieving an even wall thickness.
- 🌿 The process of attaching handles involves pulling and shaping the clay, with a focus on creating strong and natural-looking joints.
- 🔄 The bisque firing stage involves packing the kiln tightly and firing up to 1000 degrees Celsius overnight.
- 🖌️ Glazing is a meticulous process that requires careful application and cleanup to achieve a clean and vibrant finish.
- 🔥 Reduction firing is used to achieve unique colors and textures, with the kiln packed tightly to limit oxygen and enhance the effect.
- 📦 The final step involves a thorough cleanup, including sanding the base of each pot to remove any remaining sharp particles.
Q & A
What type of clay is used to make the coffee cups?
-High iron stonework clay body is used, which is specifically made for reduction firing in a gas kiln.
How much does each ball of clay weigh?
-Each ball of clay weighs about 200 grams, plus or minus 10 grams.
What is the purpose of wedging the clay?
-Wedging the clay helps to remove air bubbles and create a homogeneous consistency, which is essential for successful throwing on the wheel.
How long does it take to throw each coffee cup?
-Each coffee cup takes just over a minute to throw.
What is the role of the throwing gauge in the process?
-The throwing gauge, set at 9 by 9 centimeters, provides a point in space to aim for during the throwing process, ensuring consistent size and shape of the cups.
How are the coffee cups dried and prepared for trimming?
-After being thrown, the cups are wrapped with plastic and sprayed with water to prevent them from drying out too much, which could make them more difficult to center and trim later.
What is the purpose of using a metal kidney while cleaning the outside of the pot?
-The metal kidney is used to push the clay out against the metal, which results in a cleaner finish and reduces the chances of the tool snagging on the clay and damaging the pot.
How are the handles attached to the coffee cups?
-Handles are attached by scoring the area, applying slip, and then pushing the handle blank firmly into place. After initial attachment, the handle is pulled and thinned out to create a neat and strong join.
What is the significance of waxing the bases of the pots before glaze firing?
-Waxing the bases prevents the pots from sticking to the kiln shelves during the firing process, as the wax burns away and leaves no residue.
What type of firing process is used for the coffee cups?
-Reduction firing is used, which involves creating a state of insufficient oxygen within the kiln to produce unique color effects and patterns on the pottery.
How long does the entire process of making and firing a coffee cup take?
-The entire process can take weeks or months, depending on the workflow, and includes making the pots, bisque firing, glazing, and a second firing before finally photographing and listing the work for sale.
Outlines
🏺 Crafting Clay Coffee Cups
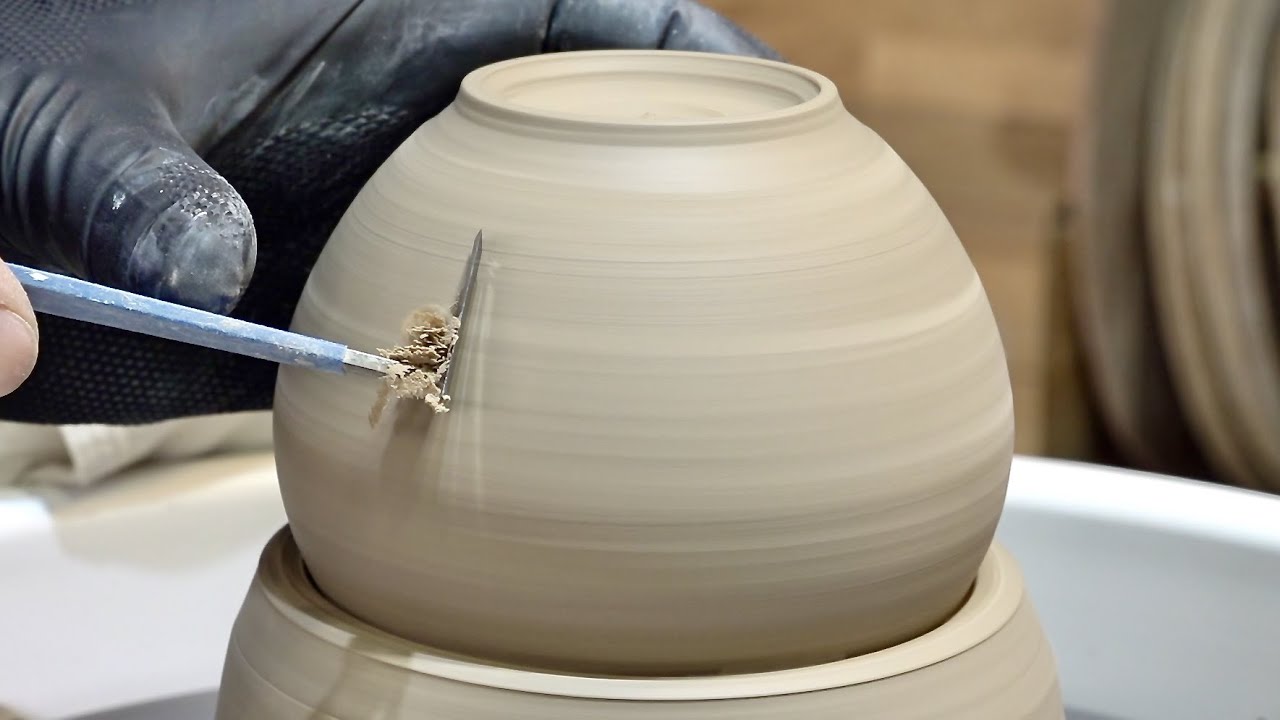
The video begins with the process of creating coffee cups from clay. The artist starts with fresh, high iron stonework clay, weighing each ball approximately 200 grams. The clay is then wedged to remove air bubbles, wrapped in plastic, and sprayed with water to prevent drying. The throwing process is swift, with each cup taking just over a minute to shape. The cups are thrown to specific dimensions, using a throwing gauge for consistency. The artist then refines the form, removing throwing lines and ensuring uniform wall thickness. The process is meticulous, emphasizing the importance of careful handling and practice.
🎨 Attaching Handles and Trimming
The paragraph details the intricate process of attaching handles to the leather-hard cups. The artist pulls handles from a larger block of clay, ensuring consistency in the process. Extra blanks are made for backup. The handles are attached with a strong joint, using a scoring and slipping technique. The artist then shapes the handle, scoring grooves for glaze interaction and thinning it out. The handles are left to dry, wrapped in plastic, and sprayed with water to avoid cracking. The artist emphasizes the traditional and efficient nature of this handle-making method.
🔥 Firing and Glazing
This section describes the bisque firing process, where the cups are fired to around 1000 degrees Celsius. The artist packs the kiln tightly and uses a reduction firing method, which involves creating an oxygen-deficient environment to produce unique colors. The artist waxes the bases of the pots to prevent sticking to the kiln shelves. Glazing is portrayed as a time-consuming but necessary step, with the artist using a specific technique to apply the glaze and clean up the pots afterward. The artist also discusses the importance of allowing the glazed pots to dry thoroughly before packing them into the kiln for the final firing.
🚀 The Final Firing
The final paragraph outlines the process of firing the kiln. The artist lights the kiln with the dampers open for safety and then gradually increases the temperature. Once the desired temperature is reached, the kiln is set into reduction, creating the distinctive greens and blues of the glaze. The artist aims for a cone 10 flat temperature of about 1293 degrees Celsius. After reaching the peak temperature, the kiln is rapidly cooled to retain the vibrancy of the colors. The artist expresses the anticipation and relief of opening the kiln after firing, highlighting the transformation from soft clay to stone-like hardness. The process concludes with a cleanup of the pot bases and the artist's workflow of creating, firing, and selling the finished pieces.
Mindmap
Keywords
💡Clay
💡Throwing
💡Waxing
💡Glazing
💡Firing
💡Reduction Firing
💡Kiln
💡Plastic Wrapping
💡Trimming
💡Handles
💡Bisque Firing
Highlights
The process begins with high iron stonework clay body, made for reduction firing in a gas kiln.
Each ball of clay weighs approximately 200 grams, with a minor variation not affecting the throwing process.
Clay is wedged to remove air bubbles, ensuring homogeneity critical for successful wheel throwing.
Throwing a cup takes just over a minute, with a target size of 9 cm by 9 cm, tapering from bottom to top.
A throwing gauge is used for consistency in size and shape during the repetition throwing process.
The clay is carefully pulled and shaped to achieve even walls and a well-formed cup.
Excess clay is removed, and the cup is cleaned up to eliminate harsh throwing lines and achieve a smooth finish.
The process of lifting the pot from the wheel requires practice to avoid distorting the walls.
Once firmed up, the pots are trimmed to remove any lumps or mechanical arm interferences.
A specially made chuck is used to hold the cups for precise trimming and base finishing.
The maker's mark is impressed into the soft clay, signifying the artisan's work.
Handles are made using a traditional method of pulling clay, creating strong and naturally jointed attachments.
The process of attaching handles involves scoring, applying slip, and blending the flare for a strong join.
Pots are bisque-fired to about 1000 degrees centigrade, transforming the clay into a hard, stone-like material.
Waxing the bases of the pots prevents them from sticking to the kiln shelves during the gas firing process.
Glazing is done by submerging the pots in the glaze, allowing for a clean surface after drying.
Packing the kiln is a strategic process, fitting as many pots as possible for cost efficiency.
Reduction firing is used, creating unique greens and blues by stripping oxygen from iron molecules in the clay and glazes.
The final step involves a quick cleanup of the base with wet sandpaper to remove any sharp sand particles.
Transcripts
Browse More Related Video
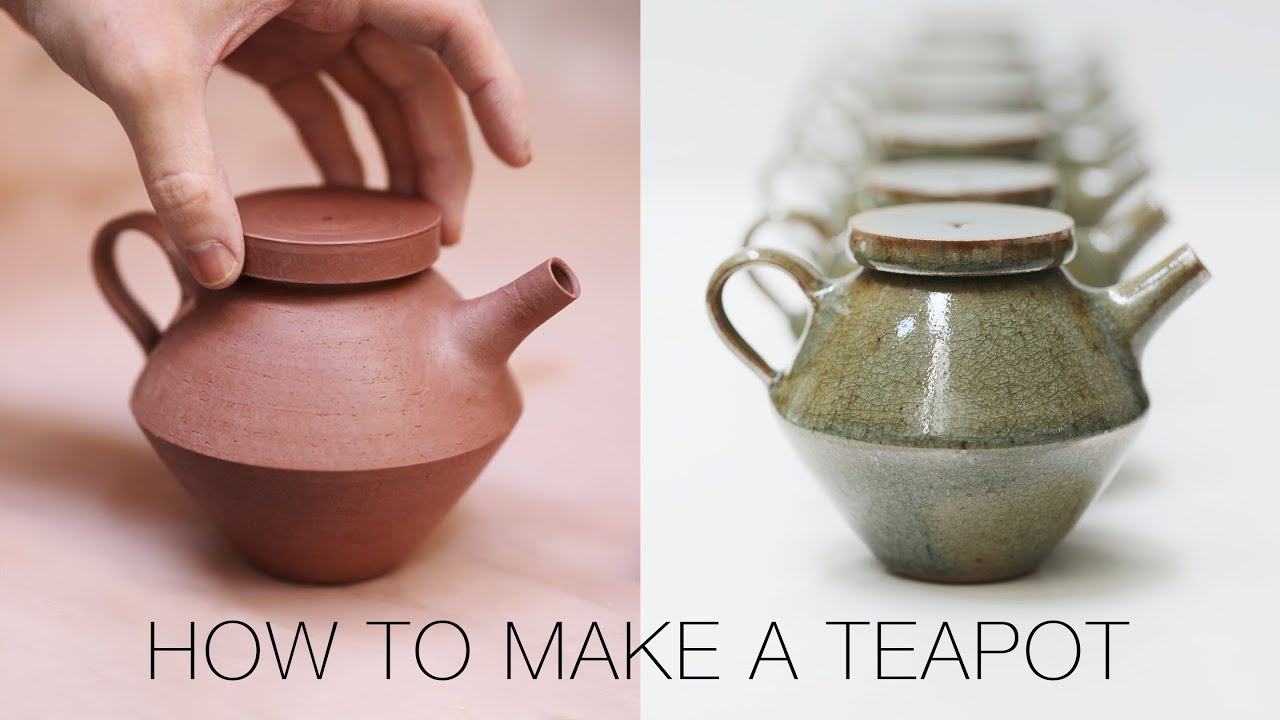
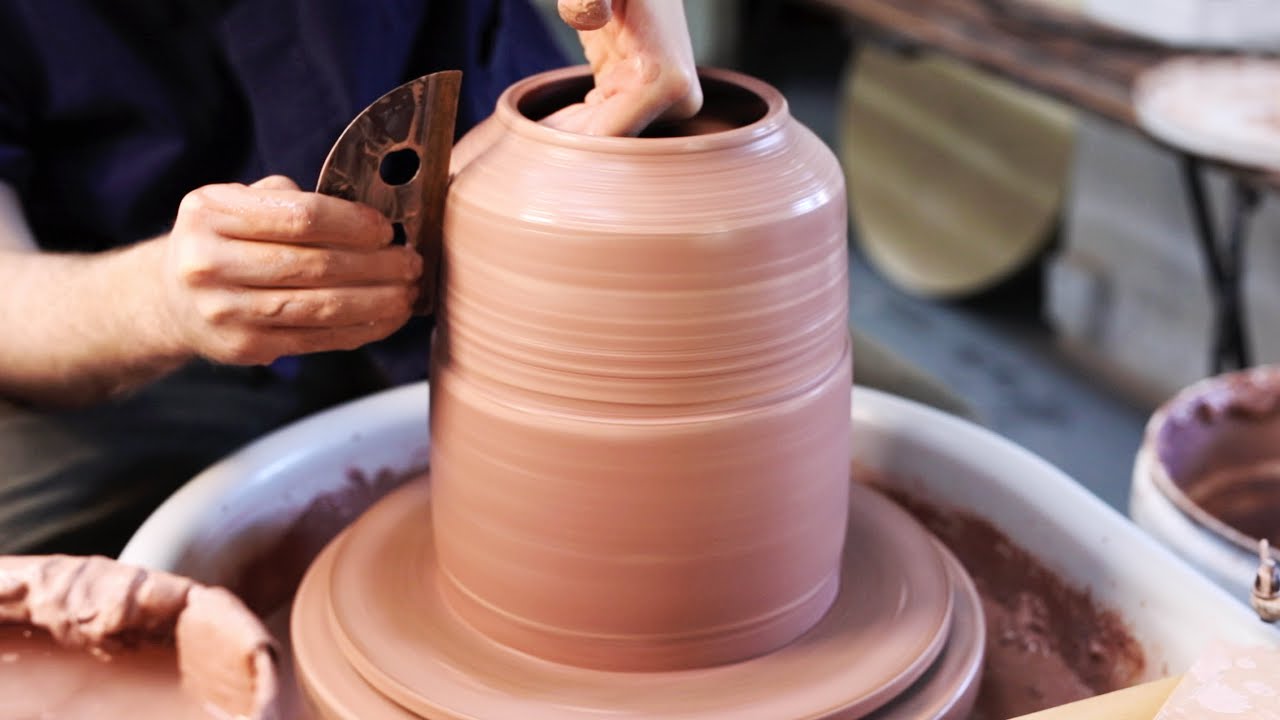
How to Make a Ceramic Teapot, from Beginning to End.

How to Centre Clay and Throw Pots on the Pottery Wheel
Making a Large Stepped Lidded Jar — From Start to Finish
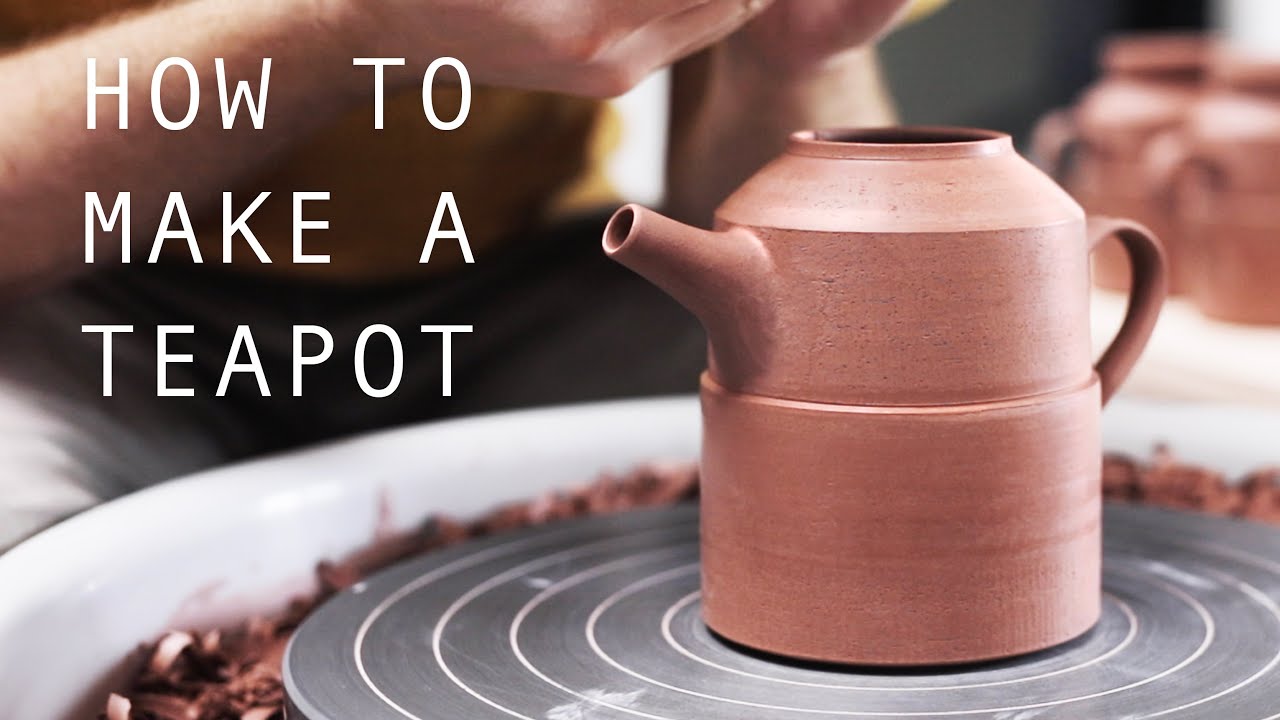
How to Make a Pottery Teapot from Start to Finish

Related Rate Problem #4 - Change in Consumer Demand
How to Make Luxury Traditional Teapot by Delicate Korean Pottery Craftsman
5.0 / 5 (0 votes)
Thanks for rating: