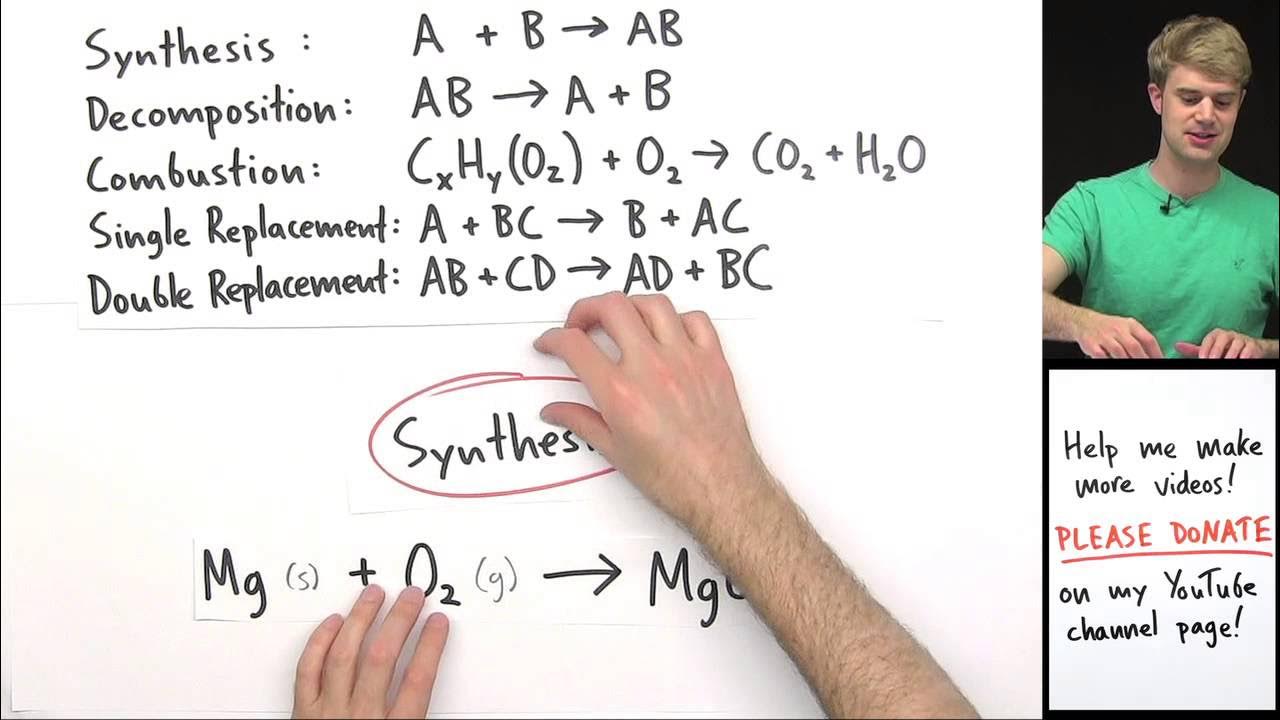
Making table salt using sodium metal and chlorine gas
TLDRThe video script details an experimental process of creating table salt, or sodium chloride, from its elemental components, sodium and chlorine. The experiment showcases the contrasting reactivity of the elements versus the compound they form. Initially, sodium is cut and reacts with air, stored in mineral oil to prevent further reaction. Chlorine is generated through the reaction of hydrochloric acid and pool pellets. The sodium and chlorine are then combined in a flask, with varying amounts of water, to produce sodium chloride. The first attempt results in a contaminated product due to sand used to prevent glass cracking. A second, more successful method involves melting the sodium and introducing it into chlorine gas, resulting in a purer, fluffy sodium chloride. Despite the product's appealing appearance, the video advises against its consumption due to potential contamination.
Takeaways
- 🧂 The process demonstrates the creation of table salt, or sodium chloride, from its reactive elements, sodium and chlorine.
- ⚔️ Individually, sodium and chlorine are dangerous due to their reactivity, but together they form a safe and edible compound.
- 🔪 A small piece of sodium metal is used, which is shiny but quickly reacts with air and moisture to form a white coating.
- 💧 Sodium is stored in mineral oil to prevent premature reaction with moisture from the air.
- 🌡️ Chlorine gas is produced by reacting hydrochloric acid with chlorine pool pellets in a generator.
- 💨 Chlorine gas, with a faint greenish-yellow color, is forced down a hose due to the top being blocked.
- ⚓️ Sand is placed at the bottom of the flask to prevent cracking from high heat during the reaction.
- 🌫️ The initial reaction produces a white cloudiness, which is a suspension of sodium chloride particles.
- 🔥 Adding less water to the reaction resulted in a slower start, more flame, but a less impressive display.
- 🔥 Upon heating and introducing molten sodium into chlorine, a bright and vigorous reaction occurs, producing a lot of sodium chloride smoke.
- 🧹 The final product is a fluffy, clean white sodium chloride, but it is advised not to consume it due to potential contamination.
- ⚠️ The experiment highlights the importance of careful handling and safety precautions when working with reactive chemicals.
Q & A
What are the two major components of table salt?
-The two major components of table salt are sodium and chlorine.
Why are sodium and chlorine reactive and dangerous on their own?
-Sodium and chlorine are reactive and dangerous individually because they are highly reactive elements that readily react with other substances, including air and moisture.
How does the reaction between sodium and chlorine result in a compound with different properties?
-The reaction between sodium and chlorine forms a compound called sodium chloride, which is stable, edible, and has drastically different properties compared to its individual elements due to the chemical bonding that occurs.
What is the purpose of using mineral oil when storing sodium?
-Mineral oil is used to store sodium because it prevents the sodium from reacting with air and moisture, which would otherwise cause it to form a white coating and become contaminated.
What is the role of sand at the bottom of the flask during the chlorine generation process?
-The sand at the bottom of the flask serves as a heat insulator to prevent the glass from cracking due to the high heat generated during the reaction.
Why does the chlorine gas produced have a faint greenish-yellow color?
-Chlorine gas has a faint greenish-yellow color due to its molecular structure and the way it absorbs and emits light.
What was the issue with the first attempt at producing sodium chloride?
-The issue with the first attempt was that too much water was added, which resulted in a less controlled reaction and a product that was highly contaminated with sand.
How was the second method of producing sodium chloride different from the first?
-The second method involved heating the sodium until it melted and then lowering it into an atmosphere of chlorine, eliminating the need for sand and potentially yielding a purer product.
What was the surprising observation when the sodium was lowered into the chlorine after being heated?
-The surprising observation was that the sodium, which had ignited, went out when it was lowered into the chlorine. However, all the exposed sodium turned into sodium chloride.
Why was the second method's reaction more spectacular than expected?
-The second method's reaction was more spectacular because the sodium burned very brightly when it was placed back into the chlorine after being heated to a molten red state, possibly due to a larger amount of sodium used.
Why is it advised not to use the sodium chloride produced in this experiment for consumption?
-It is advised not to use the sodium chloride produced for consumption because the process involved may have resulted in contamination with sand or other impurities, and the setup was not designed for food-grade production.
Outlines
🧪 Chemical Reaction to Create Table Salt
The video script describes a DIY experiment to produce table salt, or sodium chloride, from its elemental components, sodium and chlorine. The narrator explains that both elements are highly reactive but form a stable, edible compound when combined. The process involves cutting a piece of sodium metal, which is stored in mineral oil to prevent reaction with air and moisture. Chlorine gas is generated by reacting hydrochloric acid with chlorine pool pellets. The sodium is then introduced to the chlorine gas in a controlled environment, with sand at the bottom of the flask to prevent cracking due to heat. The reaction produces a suspension of sodium chloride particles and a white cloudiness, indicating the formation of salt. The narrator attempts the process twice, noting the effects of varying the amount of water used to initiate the reaction. The second method involves melting the sodium and introducing it into an atmosphere of chlorine, resulting in a purer product without the use of sand. The final reaction is more vigorous and produces a cleaner, fluffy sodium chloride, although the narrator cautions against consuming it due to potential contamination.
🔬 Purity and Contamination in Sodium Chloride Production
The second paragraph details the outcome of the chemical reaction to produce sodium chloride. It contrasts the two methods used in the experiment, highlighting that the method involving ignition with water resulted in a product contaminated with sand. The alternative approach, which involved melting the sodium and exposing it to chlorine gas without the use of sand, yielded a cleaner, whiter, and fluffier sodium chloride. Despite the improved appearance, the narrator strongly advises against using the produced sodium chloride for culinary purposes due to the risk of contamination from the experimental process. The paragraph emphasizes the importance of purity in chemical products intended for consumption.
Mindmap
Keywords
💡Sodium Chloride
💡Reactivity
💡Mineral Oil
💡Chlorine Generator
💡Hydrochloric Acid
💡Sand
💡Reaction
💡Contamination
💡Melting Point
💡Erlenmeyer Flask
💡Purity
Highlights
Sodium chloride, or table salt, is made up of two reactive and dangerous elements - sodium and chlorine.
When sodium and chlorine combine, they form a safe and edible salt, demonstrating how different a compound's properties can be from its elements.
Sodium metal is shiny but quickly reacts with air and moisture, forming a white coating.
Mineral oil is used to store sodium to prevent it from reacting with air and moisture.
Chlorine gas is produced by reacting hydrochloric acid with chlorine pool pellets.
Chlorine gas has a faint greenish-yellow color.
Sand is placed at the bottom of the flask to prevent it from cracking due to high heat.
Adding water to the sodium initiates the reaction to form sodium chloride.
The reaction produces a white cloudiness, which is a suspension of tiny sodium chloride particles.
Using less water results in a slower reaction with more flame, but it is still not very spectacular.
The second run produces a solid block of sodium chloride at the bottom, but it is contaminated with sand.
A purer sodium chloride can be obtained by heating the sodium until it melts and lowering it into an atmosphere of chlorine.
This method does not require sand, resulting in a cleaner product.
The sodium ignites when heated but goes out when lowered into the chlorine.
All the exposed sodium turns into white sodium chloride, despite the flame going out.
When the sodium is heated until molten red and placed back into the chlorine, a much more spectacular reaction occurs.
The sodium burns brightly, turning the flask into a lantern.
This reaction produces a lot more sodium chloride smoke and a thick layer of sodium chloride on the test tube.
The resulting sodium chloride is cleaner, whiter, and fluffier than the previous method.
However, the sodium chloride produced should not be used for consumption due to potential contamination.
Transcripts
Browse More Related Video

NaCl Formation
Classifying Types of Chemical Reactions Practice Problems
Introduction to Double Replacement Reactions

Oxidation and reduction | Redox reactions and electrochemistry | Chemistry | Khan Academy

Electrolysis of Brine | Reactions | Chemistry | FuseSchool

Introduction to Ionic Bonding and Covalent Bonding
5.0 / 5 (0 votes)
Thanks for rating: