Make Your Google Sheets Look PRO in Under 10 Minutes!
TLDRThis video tutorial offers a concise guide on enhancing Google Sheets usage效率. It begins with quick methods to create a new sheet and navigate through basic data entry, such as tracking student progress. The video then delves into formatting techniques, including changing font styles, adjusting column widths, and aligning text both horizontally and vertically. It introduces the use of data validation to create dropdown menus for efficient data input and conditional formatting to visually organize information. The tutorial also covers the use of checkboxes for binary data and the application of alternating colors for improved readability. Advanced techniques like splitting text into separate columns and sorting data are also discussed. Finally, it explains how to duplicate and protect sheets for collaborative work without compromising data integrity, ensuring a smooth and efficient data tracking experience.
Takeaways
- 🚀 Quickly open a new Google Sheet by typing 'sheet.new' in the search field of Google Chrome.
- 📄 Create an organized data tracker with headers, categories, and personal connection notes.
- ✍️ Apply font and size changes to the entire sheet by selecting 'Select all' before editing.
- 🔄 Use text wrapping and column resizing adjustments uniformly for a polished sheet appearance.
- 🎯 Center align text within cells both horizontally and vertically for better readability.
- 🔝 Freeze the header row to keep it visible while scrolling through the data.
- 📊 Input data efficiently using drop-down boxes for consistent entries and less typing.
- 🌈 Enhance data visualization with conditional formatting based on text content.
- ☑️ Utilize checkboxes for yes/no data points instead of drop-down menus.
- 🖌️ Improve sheet aesthetics with alternating colors and borders for better differentiation.
- 🔄 Split and rearrange data with features like 'Split Text to Columns' and sorting options.
- 🔒 Share and collaborate on Google Sheets with adjustable permissions to protect data integrity.
Q & A
What is the shortcut to open a new Google Sheet quickly?
-You can open a new Google Sheet quickly by typing 'sheet.new' in the Search field in Google Chrome.
How can you apply font changes to the entire Google Sheet instead of just a single cell?
-To apply font changes to the entire sheet, you should first select all by going to the 'Select all' option, and then make the desired changes to the font. These changes will then apply to the whole sheet.
What is the efficient way to adjust column sizes in Google Sheets to fit text?
-The efficient way to adjust column sizes is to select all, and then make any adjustment to the column size. This will make the adjustment across the entire sheet, creating a more uniform effect and improving the overall look of your sheet.
How can you keep the header row visible while scrolling in Google Sheets?
-To keep the header row visible while scrolling, you can click on the header row, go to 'View', then 'Freeze', and select to freeze one row.
How do you create a drop-down box in Google Sheets for easy data input?
-To create a drop-down box, click on the cell where you want the box, select 'Data', then 'Data Validation', change the validation type to 'list of items', and type in the different options for the drop-down menu.
What is the purpose of Conditional Formatting in Google Sheets?
-Conditional Formatting is used to apply specific formatting rules based on the content of the cells. For example, you can change the cell's color or font if it contains certain text, like 'Advanced', 'Intermediate', or 'Beginner'.
How can you insert checkboxes in Google Sheets to indicate yes or no answers?
-To insert checkboxes, highlight the cells where you want them, go to 'Insert', and then scroll down to 'Checkboxes'. This will add checkboxes to the selected cells which can be checked on or off.
What is the benefit of using Alternating Colors in Google Sheets?
-Using Alternating Colors improves the visual appeal of the sheet and makes it easier to read by changing the color of the header and alternating the colors of each row.
How do you split a column with first and last names into two separate columns in Google Sheets?
-You can split the column by going to 'Data', selecting 'Split Text to Columns', and choosing 'space' as the separator. This will automatically detect spaces between first and last names and split them into two columns.
How can you share a Google Sheet with someone while restricting their editing permissions?
-After setting up the sheet, right-click on the sheet tab, select 'Protect Sheet', choose the 'Set Permissions' button, and restrict editing to only yourself. Then, use the 'Share' button to share the sheet with the desired person. They will be able to view but not edit your data.
What is the lock icon on the Google Sheet tab indicative of?
-The lock icon on the Google Sheet tab indicates that the sheet has been protected and that certain editing permissions are restricted, ensuring that the data cannot be accidentally deleted or modified by others.
Outlines
📊 Introduction to Google Sheets and Basic Setup
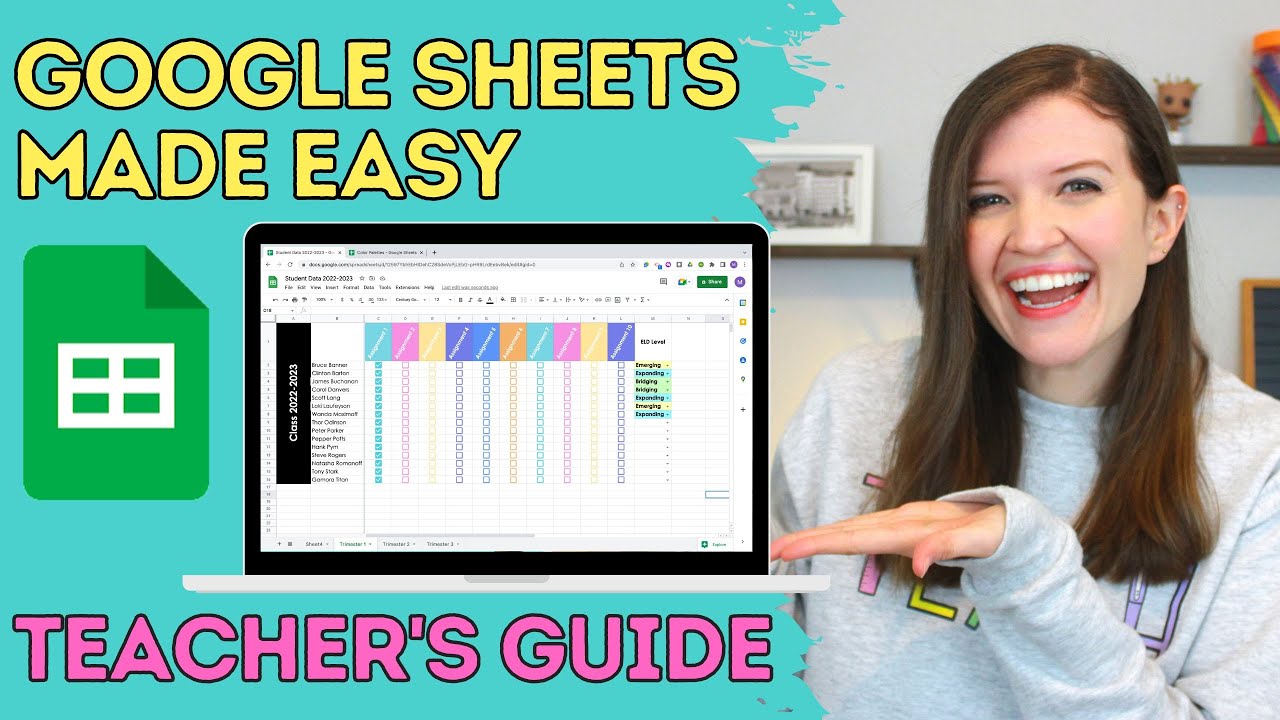
This paragraph introduces viewers to the video's purpose, which is to improve their proficiency with Google Sheets in under 10 minutes. The speaker begins by demonstrating a shortcut to open a new Google Sheet using 'sheet.new' in Google Chrome. They then create a student data tracker with headers for student names and various assessment data. The speaker emphasizes the importance of editing the entire sheet at once for uniformity, such as changing the font and size, adjusting column sizes, and applying text wrapping. They also show how to align text both horizontally and vertically within cells for a more organized appearance. The paragraph concludes with tips on freezing the header row to keep it visible while scrolling and inputting data efficiently using drop-down menus for assessment results.
🎨 Enhancing Visual Appeal and Data Organization
In this paragraph, the focus shifts to enhancing the visual appeal and organization of the Google Sheet. The speaker begins by addressing the need for color-coding based on assessment results and demonstrates how to use conditional formatting to change cell colors based on the text they contain. They then discuss the use of checkboxes for binary data like one-on-one connections or phone calls. To improve the sheet's overall look, the speaker applies alternating colors to rows, makes the header text bold, and adds borders to cells. The paragraph also covers how to split a column into two based on space for separating first and last names. The speaker then shows how to sort data alphabetically for better group visibility and how to share and protect the sheet with a colleague while maintaining the formatting and restricting editing permissions.
Mindmap
Keywords
💡Google Sheets
💡Header
💡Font
💡Text Wrapping
💡Column Size
💡Text Alignment
💡Conditional Formatting
💡Data Validation
💡Split Text to Columns
💡Sort Column
💡Protect Sheet
Highlights
The video provides a quick guide to significantly improve skills in using Google Sheets within 10 minutes.
A new Google Sheet can be quickly opened by typing 'sheet.new' in Google Chrome's search field.
To apply changes like font and size to the entire sheet, select 'Select all' before making the edit.
Text wrapping can be enabled through the Format menu to fit text within columns.
Column resizing adjustments made while 'Select all' is active will apply uniformly across the entire sheet.
Text alignment can be changed to center for entire rows, and vertical alignment can be adjusted for better cell aesthetics.
Freezing a row keeps the header visible at the top while scrolling through the sheet.
Creating a drop-down box in cells allows for efficient input selection from a list of items.
Conditional formatting allows for color-coding cells based on specific text inputs, enhancing data visualization.
Checkboxes can be inserted for yes/no answers, providing a simple input method for binary data.
Alternating colors can be applied to rows for improved visual appeal and easier data differentiation.
Bold text and borders can be added to headers and column names for emphasis and distinction.
Splitting text into multiple columns can be achieved using the 'Split Text to Columns' feature based on a separator like a space.
Sorting columns alphabetically helps in grouping similar data, making it easier to analyze.
Duplicating and protecting sheets allows for sharing data with others while restricting editing permissions.
A lock icon on the Google Sheet tab indicates that permissions have been set, preventing accidental edits or deletions.
Transcripts
Browse More Related Video
Google Sheets for Teachers | How to Make Checklists, Dropdown Menus, and Use Formatting Tools

Google Sheets Advanced Tutorial

How to Create a Dashboard in Google Sheets (10 steps) - Query Formula

10 BEST Google Sheets HACKS for Teachers

Track Your Expenses in Mac Numbers

How to Build a Sales Funnel Dashboard for a Sales Team Google Forms & Google Sheets QUERY COURSE
5.0 / 5 (0 votes)
Thanks for rating: