Fully Automated Data Entry User Form in Excel - Step By Step Tutorial
TLDRIn this tutorial, viewers learn how to create an automated data entry form in Excel using various controls like textboxes, option buttons, command buttons, combo boxes, and list boxes. The process involves setting up a simple and dynamic form, saving data to a database, and displaying live data entry. The video also covers resetting the form, initializing it, and coding for saving and submitting entries. The end result is an efficient system for data management within Excel.
Takeaways
- 📝 The tutorial demonstrates how to create an automated data entry form in Excel.
- 🔧 Utilize Excel's built-in controls like textbox, option button, command button, combo box, and list box to build the form.
- 📋 The form is designed to capture data such as employee ID, name, gender, department, city, and country.
- 💾 Save the form by ensuring the 'Save as Type' is set to 'Macro-Enabled Workbook' to retain the form's functionality.
- 🖼️ Customize the appearance of the form by renaming sheets, adjusting gridlines, and using shapes for form structure.
- 🔄 Use VBA (Visual Basic for Applications) to write code for form actions such as resetting and saving data.
- 🔄 The 'Reset' function clears all form fields and prepares the form for new data entry.
- 📑 The 'Submit' or 'Save' function writes the entered data to the database worksheet in Excel.
- 🔗 Link the form controls to the database by setting the appropriate row source and column count for the list box.
- 📈 Initialize the form with a 'UserForm_Initialize' subroutine to set default values and behaviors.
- 🛠️ Debug and compile the VBA code to ensure the form works correctly without errors.
- 🎥 The video script provides a step-by-step guide for users to follow and implement their own data entry form in Excel.
Q & A
What is the main topic of the tutorial?
-The main topic of the tutorial is creating an automated data entry form in Excel.
What components are used to create the dynamic form?
-The dynamic form is created using textbox controls, option buttons, command buttons, combo boxes, and list box controls.
How does the automated form interact with the database?
-The automated form interacts with the database by saving the entered data and displaying it in the list box control, which shows the available data from the database.
What happens when the user clicks the 'Save' button?
-When the user clicks the 'Save' button, the form asks if the user wants to see the data. If the user clicks 'yes', the new record is added to the database and reflected in the list box control.
How can the user reset the form after entering data?
-The user can reset the form by clicking the 'Reset' button, which clears the entered data and allows the user to enter new data or modify the existing entries.
What is the purpose of the 'Launch Form' button in the video tutorial?
-The 'Launch Form' button is used to open the automated data entry form within Excel, allowing the user to start entering data.
How is the Developer tab made visible in Excel if it's not present?
-If the Developer tab is not present, the user can go to 'File', then 'Options', click on 'Customize Ribbon', and check the 'Developer' tab to make it visible.
What is the significance of the 'tab order' in the form design?
-The 'tab order' determines the sequence in which the form fields receive focus when the user navigates through the form using the Tab key, ensuring a logical and efficient user experience.
How does the tutorial handle gender input in the form?
-The tutorial handles gender input using option buttons for 'male' and 'female', allowing the user to select one of the two options.
What is the role of the 'Department' combo box in the form?
-The 'Department' combo box allows the user to select a department from a predefined list of departments, providing a structured way to enter department information.
What is the purpose of the 'Save' and 'Reset' procedures in the VBA code?
-The 'Save' procedure is used to write the entered data to the database, while the 'Reset' procedure clears the form fields and prepares the form for new data entry.
Outlines
📝 Introduction to Automated Data Entry Form in Excel
This paragraph introduces the concept of creating an automated data entry form in Excel. The speaker, Dilip, welcomes viewers back and outlines the tutorial's objective, which is to demonstrate how to develop a simple and dynamic form using Excel's features such as textbox controls, option buttons, command buttons, combo boxes, and list boxes. Dilip presents a demo file with an already developed form and explains how it interfaces with a database, allowing for live data entry and display.
🎨 Customizing the Database Form and Designing the User Interface
In this paragraph, Dilip focuses on the customization of the database form and the design of the user interface. He instructs on renaming the sheets, adjusting gridlines, and preparing the sheet for the database. Detailed steps are provided for inserting and formatting shapes, such as rounded rectangles, to create a visually appealing launch button for the form. The paragraph also covers the creation of a separate worksheet for the database and the input of column headers.
🛠️ Developing the Form: Adding Controls and Assigning Properties
Dilip continues the tutorial by guiding through the development of the form. This includes inserting and resizing user forms, adjusting properties such as form size and captions, and adding frames to organize input fields and list boxes. The paragraph details the process of adding labels, text boxes, option buttons, and command buttons for gender selection, as well as setting up the department and country fields with combo boxes and text boxes.
🔧 Configuring Controls and Setting Tab Orders
This paragraph delves into the configuration of controls and the assignment of tab orders for a seamless user experience. Dilip explains how to rename and caption each control, adjust the tab index for the correct order of input focus, and add list box controls to display data. The paragraph emphasizes the importance of organizing the form's layout to ensure intuitive data entry and navigation.
📋 Writing Code for Data Entry and Reset Functions
Dilip begins coding the form by writing procedures for data entry and reset functions. He explains how to declare variables, initialize controls, and use Excel functions to identify the last row of the database. The paragraph covers the process of clearing input fields, setting up combo box items, and initializing the list box with the correct number of columns and column headers. The focus is on preparing the form for data input and ensuring that the user can easily reset the form for new entries.
🔄 Implementing the Save and Confirmation Procedures
This paragraph focuses on implementing the save functionality and creating a confirmation message box before data is saved. Dilip writes code to assign values from form inputs to worksheet cells, calculates the next blank row for new entries, and includes a user prompt to confirm data submission. The paragraph details the process of saving data to the database worksheet and resetting the form after a successful save to prepare for the next entry.
🚀 Launching the Form and Testing the Data Entry Process
Dilip concludes the tutorial by launching the form and testing the data entry process. He demonstrates how to assign macros to the launch button, navigate the form, and input data. The paragraph highlights the form's functionality, including saving and viewing data, and emphasizes the practicality of the form for real-time data capture and display. Dilip invites users to request additional features such as editing and deleting records for future tutorials.
Mindmap
Keywords
💡Automated Data Entry Form
💡Excel
💡Database
💡Developer Tab
💡VBA (Visual Basic for Applications)
💡Textbox Control
💡Option Button
💡Command Button
💡List Box Control
💡Combo Box
💡Tab Order
💡Macro
Highlights
Creating an automated data entry form in Excel is the focus of this tutorial.
A simple dynamic form has been developed using textbox, option button, command button, combo box, and command button controls.
The form includes a list box control showing available data from the database.
Entries made in the form can be saved and upon confirmation, the data is added to the database and reflected in the list box.
A 'Save' button prompts the user to confirm if they want to see the saved data.
The 'Reset' button clears the form fields after data entry or updates.
Instructions are provided for creating a new Excel file and saving it as a macro-enabled file.
The tutorial demonstrates renaming the first sheet to 'Home' and setting up the view to remove gridlines.
A 'Launch Form' button is created using a rounded rectangle shape.
A separate 'Database' sheet is created for storing the entered data with appropriate headers.
The form is designed with two frames: one for entering details and another for displaying the database list.
Labels and controls for Employee ID, Name, Gender, Department, City, and Country are added to the form.
Option buttons for gender selection (Male and Female) and a combo box for department selection are included.
Command buttons for 'Save' and 'Reset' are added, with specific color coding and captions.
A list box control within the 'Database' frame is configured to display the entered data with specified column widths.
VBA code is written for resetting the form fields, saving data to the database, and launching the form.
The tutorial concludes with a demonstration of data entry, saving, and immediate reflection of the saved data in the list box.
Transcripts
Browse More Related Video

How to Create a Data Entry Form in Excel

How To Create An Excel Data Entry Form WITHOUT A UserForm
Create Excel Database and Data Entry Form. Excel Magic Trick 1690.
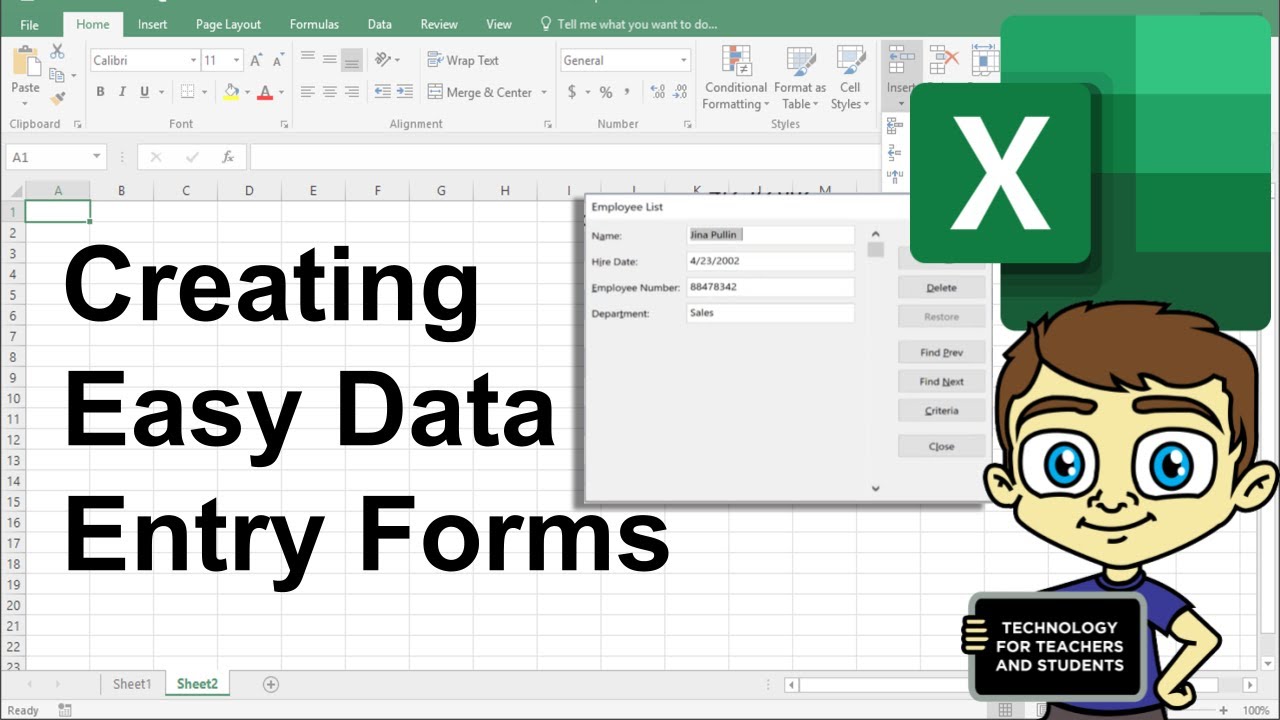
Creating Easy Data Entry Forms in Excel

SUPER EASY Excel Data Entry Form (NO VBA)

Practical Excel for Accounting: Pivot Tables, Drop-down Lists, and VLOOKUP
5.0 / 5 (0 votes)
Thanks for rating: