I tried the Cheapest Arduino Alternative (that Nobody heard of)
TLDRIn this video, the creator embarks on a quest to find a cost-effective alternative to the Arduino for a large-scale project involving infrared distance sensors and LEDs. After discovering the HT66F002 microcontroller, they dive into programming challenges, successfully implementing basic I/O, PWM, ADC, and sleep mode. However, the lack of I2C master support in the HT66F0176 microcontroller forces a reevaluation of options. The video offers insights into the potential and limitations of budget microcontrollers, highlighting the ease of programming and the need for further resources.
Takeaways
- 🔍 The project involves using an infrared distance sensor, an Arduino Microcontroller, and an LED, where the LED's brightness changes based on the sensor's readings.
- 💰 Building this setup 14 times is expensive, so a cheaper microcontroller alternative is sought.
- 🔧 The HT66F002 microcontroller is identified as a cost-effective alternative, costing around $0.2 per piece.
- 📉 The HT66F002 lacks beginner guides and tutorials compared to Arduino.
- 🔋 Essential features needed for the project include input/output pins, PWM signal generation, ADC, sleep mode, and I2C communication.
- 🛠 Programming the HT66F002 involves installing HT-IDE3000 and HOPE-3000 software and using a dedicated programmer (e-link).
- 🚦 Initial issues with programming the HT66F002 included watchdog timer problems, which were resolved to make a blinking LED work.
- 🔄 The PWM signal generation and analog input functions were successfully implemented with the HT66F002 after some complexity.
- 😴 The microcontroller's sleep mode and wake-up functionality were also successfully tested.
- 📉 The HT66F002 cannot support I2C in master mode, which is necessary for the project, leading to a search for other alternatives like the HT66F0176.
- 🚫 The HT66F0176 and similar Holtek microcontrollers only support I2C in slave mode, rendering them unsuitable for the project.
- 📚 Despite the limitations, Holtek microcontrollers are found to be cheap, relatively easy to program, and have a range of application-specific variants.
Q & A
What is the main issue the author is trying to solve in their project?
-The author is trying to find a cost-effective alternative to the Arduino Microcontroller for a project that requires 14 setups of an infrared distance sensor, an LED, and a microcontroller, due to the high cost of using the Atmega328P in such a large quantity.
Why is the HT66F002 considered a cheaper alternative to the Arduino board?
-The HT66F002 is considered a cheaper alternative because it costs around 0.2$ per piece, compared to the Arduino board with its Atmega328P microcontroller, which costs around 2$ per piece.
What is the main challenge the author faces when switching to the HT66F002 microcontroller?
-The main challenge is the lack of beginner-friendly guides and libraries for the HT66F002 microcontroller, unlike the abundant resources available for Arduino.
What are the essential features the author needs for their project?
-The essential features needed for the project are the ability to use pins as inputs and outputs, create a PWM signal with variable duty cycle, read analog voltage from a potentiometer, have a sleep mode for power saving, and use the I2C communication protocol.
Why did the author initially have trouble with the blinking LED using the HT66F002?
-The initial trouble with the blinking LED was due to the watchdog timer, which resets the device when its timer overflows. Disabling the watchdog timer resolved the issue.
What software did the author use to program the HT66F002 microcontroller?
-The author used the HT-IDE3000 for writing the code and the HOPE-3000 software to upload the created code to the microcontroller.
What was the main difficulty in implementing PWM with the HT66F002 compared to Arduino?
-The main difficulty was setting up all the mandatory timer registers manually for PWM, as opposed to using the simpler 'analog write' function in Arduino.
How did the author manage to read analog input from a potentiometer with the HT66F002?
-The author spent around 3 hours manipulating the right register and using bit math to store the final analog voltage value in a variable that could then be passed to the PWM function.
What is the sleep mode feature in the HT66F002 and how does it help in the project?
-The sleep mode feature puts the microcontroller into a low-power state, reducing the current demand to 11uA. It can be woken up by defining an input as a Wake Up input, which helps in saving power during the project.
What was the final obstacle that led the author to consider another microcontroller for the project?
-The final obstacle was the lack of I2C master mode support in the HT66F002 and other Holtek 8-bit microcontrollers the author investigated, which is a requirement for communicating with the distance sensor in the project.
What alternative microcontroller did the author consider after the HT66F002?
-The author considered the HT66F0176 as an alternative, which costs around 30 cents per piece and includes I2C support, but unfortunately, it only supports I2C in slave mode.
What are some advantages of using Holtek microcontrollers despite the challenges faced?
-Some advantages of using Holtek microcontrollers include their low cost, relative ease of programming, and the availability of application-specific microcontrollers for various purposes such as smoke detection, BLDC motors, or with a 24-bit ADC.
What is the main complaint the author has about the HT66F002 and other Holtek 8-bit microcontrollers?
-The main complaint is the lack of libraries and guides for beginners, and the high cost of the programmer for hobbyists, which makes it difficult to work with these microcontrollers.
Outlines
😀 Exploring an Affordable Alternative to Arduino for a Large Project
The script introduces a project involving an infrared distance sensor, an Arduino, and an LED, which dims the LED brightness based on proximity. The creator seeks a cost-effective solution for scaling up the project to 14 units, considering the high cost of the Arduino board and its microcontroller. They find a potential alternative in the HT66F002 microcontroller, which is significantly cheaper but lacks the extensive support and tutorials available for Arduino. The video aims to determine if this microcontroller can fulfill the project requirements, including basic input/output, PWM signal generation, analog-to-digital conversion, sleep mode, and I2C communication. The video also mentions a sponsorship by JLCPCB, a PCB service provider, and highlights their offerings and upcoming features.
🛠 Overcoming Challenges in Programming HT66F002 Microcontroller
The script details the process of programming the HT66F002 microcontroller, starting with setting up the HT-IDE3000 and HOPE-3000 software for writing and uploading code, respectively. The creator attempts to replicate simple Arduino functionalities like blinking an LED, reading button input, and generating PWM signals. They encounter issues with the LED not blinking as expected due to the watchdog timer, which they resolve by disabling it. The script also covers the process of setting up a push button input and the complexities of manually configuring timer registers for PWM in HT programming compared to the simplicity of Arduino's analog write function. The creator successfully implements PWM and analog input reading but notes the lack of a serial interface for easier debugging in HT's environment.
🔋 Investigating Power Management and I2C Communication Limitations
The script continues with the exploration of the HT66F002's power management capabilities, successfully demonstrating sleep mode and wake-up functionality with a button. The creator then addresses the final project requirement of I2C communication, only to discover that the HT66F002 and similar Holtek microcontrollers only support I2C in slave mode, which is not suitable for their project needs. Despite this setback, the creator reflects on the overall experience with Holtek microcontrollers, appreciating their affordability and relative ease of programming despite the lack of extensive documentation and community support. They conclude by suggesting alternative Holtek microcontrollers that might meet the project requirements and express their intention to continue searching for a suitable microcontroller for their project.
Mindmap
Keywords
💡Infrared Distance Sensor
💡Arduino Microcontroller
💡HT66F002
💡PWM (Pulse Width Modulation)
💡Analog to Digital Converter (ADC)
💡I2C Communication Protocol
💡Watchdog Timer
💡Sleep Mode
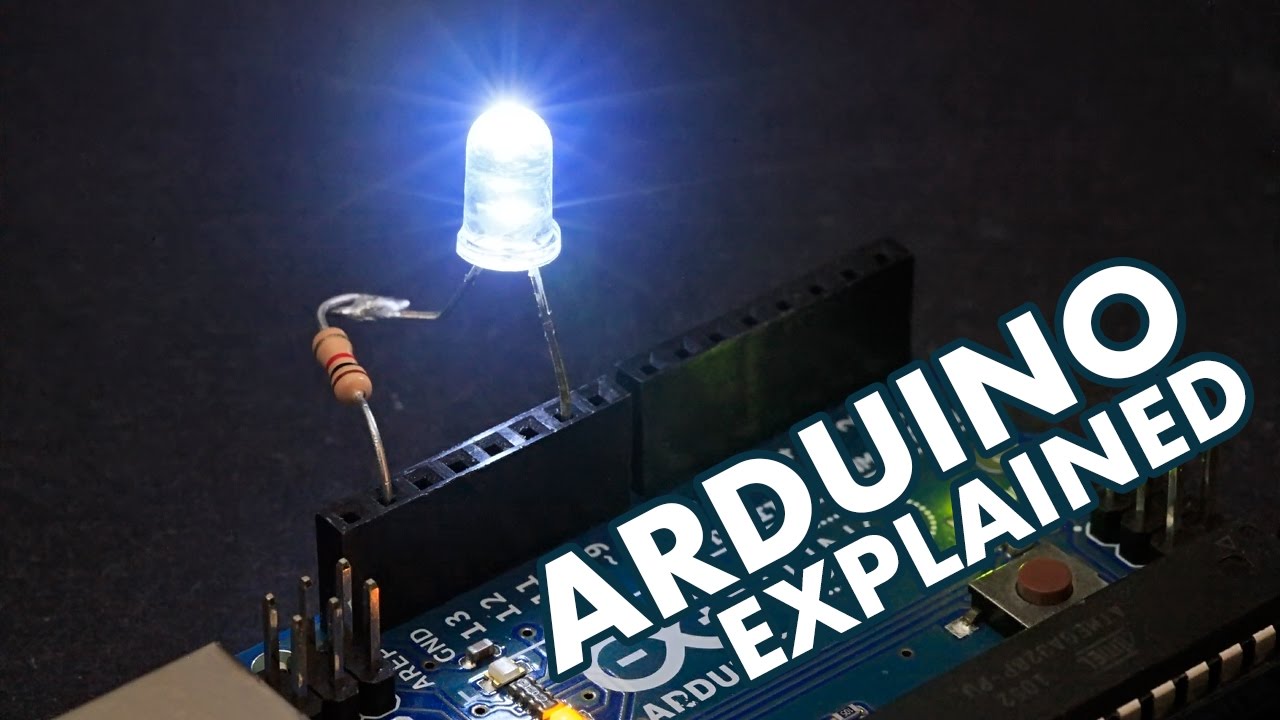
💡Blinking LED
💡Breakout Board
Highlights
Project involves building a setup with an infrared distance sensor, Arduino, and an LED to control brightness based on proximity.
Need to replicate the setup 14 times for a large project, which raises cost concerns due to the expense of components.
The HT66F002 microcontroller is identified as a cheaper alternative to the Atmega328P, costing only 0.2$ per piece.
Lack of beginner guides and tutorials for the HT66F002 compared to the extensive resources available for Arduino.
Features required for the project include input and output pins, PWM signal generation, analog to digital conversion, sleep mode, and I2C communication.
The HT66F002 datasheet confirms theoretical capability for all required functions except one, which is addressed later.
The e-link programmer is needed for HT66F002, with only 4 pins required for programming.
HT-IDE3000 and HOPE-3000 software are used for programming the HT66F002, similar to the Arduino IDE.
Coding a blinking LED with HT IDE involves different commands but similar logic to Arduino.
Watchdog timer was found to be the issue causing the LED not to blink properly, and disabling it resolved the problem.
PushButton input was successfully implemented with the HT IDE, using a pull-up resistor function.
PWM implementation in HT programming is more complex, requiring manual setup of timer registers.
Analog input from a potentiometer to control LED brightness was achieved after manipulating registers and using bit math.
The HT66F002 microcontroller's sleep mode was successfully implemented to save power, reducing current demand to 11uA.
The HT66F0176 microcontroller was considered as an alternative due to its I2C support, but it only supports slave mode, not meeting the project requirement.
Despite the setback, the video provides insights into the programming ease and cost-effectiveness of Holtek microcontrollers.
The video concludes with the decision to look for another microcontroller for the project and a call to action for viewers to support the creator's work.
Transcripts


5.0 / 5 (0 votes)
Thanks for rating: