How to read schematic diagrams for electronics part 1 tutorial: The basics
TLDRThis video offers an introductory guide to understanding schematic diagrams in electronics. It covers the basics of resistors, LEDs, diodes, power supplies, and switches, explaining their symbols and functions. The presenter assembles a simple LED circuit, emphasizing the importance of current limiting resistors for LEDs and the use of Ohm's law for calculations. Practical tips on reading color codes, selecting resistor values, and measuring voltage and current with a multimeter are provided, making it an informative resource for beginners in electronics.
Takeaways
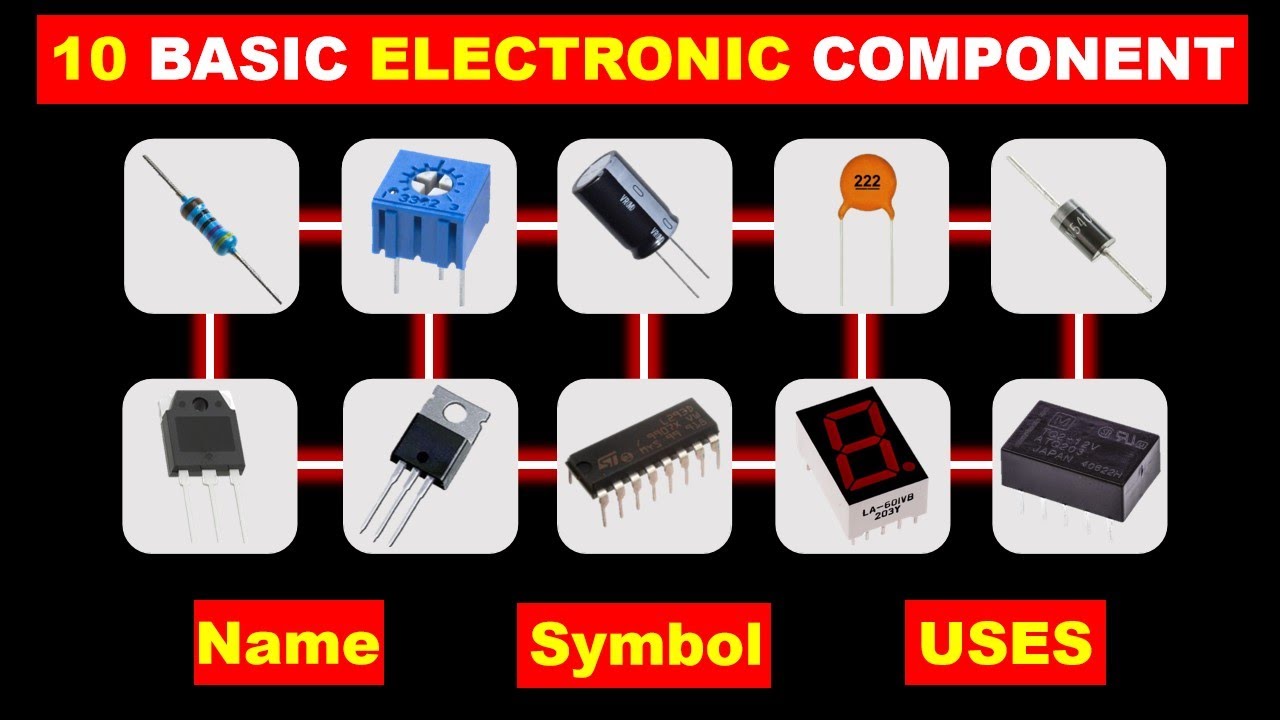
- 🔍 The video is part of a series on electronics, focusing on schematic diagrams and basic components like resistors and LEDs.
- 🌐 The presenter encourages viewers to ask questions for future videos, acknowledging the difficulty of revisiting topics after a long time.
- 🔩 The script explains the symbols for resistors in schematic diagrams and how to read their values, including the difference between 5% and 1% tolerance resistors.
- 💡 LED characteristics are discussed, including their size variations, polarization, and the importance of using the correct resistor to limit current and prevent damage.
- ⚡ The video demonstrates how to build a simple circuit with an LED, resistor, and switch, emphasizing the importance of following the current path and component placement.
- 🔌 The role of the power supply in a circuit is explained, with examples of different schematic symbols and the flexibility in choosing the type of power supply.
- 🔑 The concept of switches in circuits is covered, including the difference between mechanical and push-button switches, and the single pole single throw configuration.
- 📐 Ohm's law is introduced for calculating current in a circuit, and the importance of using the correct resistor value to limit the current through an LED is highlighted.
- 🔬 The script includes practical advice on measuring voltage, current, and resistance using a multimeter, providing insights into circuit analysis.
- 🛠️ The use of breadboards for building and learning circuits is promoted for their ease of use and adjustability.
- 🔄 The video concludes with a reminder of the importance of circuit analysis, including understanding voltage drops across components and the current flowing through them.
Q & A
What is the purpose of the video?
-The purpose of the video is to provide an introduction to schematic diagrams and basic electronic components, such as resistors, LEDs, diodes, power supplies, and switches, and to demonstrate how to build a simple LED circuit.
How many videos are planned in this series?
-The exact number of videos is not specified; the creator plans to make them as ideas come and will address questions in future videos.
What are the two common symbols used to represent resistors in schematic diagrams?
-The two common symbols for resistors in schematic diagrams are jagged lines and a rectangle with the value written inside or on top.
What is the difference between a blue and a beige resistor in terms of tolerance?
-The blue resistor has a tolerance of 1%, while the beige resistor has a tolerance of 5%, meaning the blue one is closer to its rated value than the beige one.
What does the arrow in the LED schematic symbol indicate?
-The arrow in the LED schematic symbol indicates the direction of light emission and also shows the polarity, with the anode being the more positive side.
How do you determine the polarity of a trimmed LED?
-For a trimmed LED, you can determine polarity by looking for a flat edge on the cathode side or by testing it with a multimeter.
What is the function of a resistor in an LED circuit?
-The resistor in an LED circuit limits the current to prevent the LED from being destroyed due to excessive current.
What is the significance of the ground symbol in a schematic diagram?
-The ground symbol in a schematic diagram represents the zero-volt reference point in the circuit.
How do you measure the current in a circuit?
-To measure the current in a circuit, you must open the circuit and connect the multimeter in series with the component you want to measure, then close the circuit to allow current to flow through the meter.
What is Ohm's Law and how is it used in the video?
-Ohm's Law states that the current through a conductor between two points is directly proportional to the voltage across the two points and inversely proportional to the resistance between them. In the video, it is used to calculate the current flowing through the LED circuit.
Why is it important to consider the wattage rating of a resistor?
-The wattage rating of a resistor is important to prevent the resistor from overheating and burning out, especially in circuits where the resistor may need to dissipate significant power.
How can you verify the resistance value of a resistor using a multimeter?
-You can verify the resistance value of a resistor using a multimeter by setting the multimeter to the resistance setting and placing the probes across the resistor's terminals.
Outlines
📚 Introduction to Schematic Diagrams and Components
The video begins with an introduction to schematic diagrams, a visual representation of an electrical circuit. The speaker mentions an ongoing series of videos, inviting viewer questions for future content. Key components like resistors, with their symbols and color codes, are explained, including the difference between 5% and 1% tolerance resistors. The importance of wattage ratings and the physical characteristics of resistors are highlighted. Additionally, LEDs, their sizes, and polarization are discussed, along with the necessity of current-limiting resistors to prevent damage.
🔌 Exploring Basic Circuit Components and Their Schematic Symbols
This paragraph delves deeper into various electronic components, including diodes and LEDs, and their schematic symbols. The polarization of LEDs and the method to identify the anode and cathode are covered. Power supply symbols and the concept of using different voltage sources are introduced. The video also explains different types of switches, such as mechanical flip switches and push-button switches, and their schematic representations, emphasizing the single pole single throw configuration.
🤖 Building a Simple LED Circuit with a Switch
The speaker constructs a basic circuit with an LED and a switch, explaining the process step by step. The importance of the current path from the power supply through the switch, resistor, and LED is emphasized. The concept of ground as a zero-volt reference point is introduced, and the significance of component labels in schematics is discussed. The video also demonstrates how to wire a push-button switch into the circuit and the rationale behind using specific resistor values to limit the current for the LED.
🔧 Practical Circuit Assembly and Breadboard Usage
The paragraph focuses on the practical aspects of assembling circuits using breadboards, which allow for easy component insertion and adjustments. The process of connecting a switch to a power supply, placing a resistor, and attaching an LED while considering its polarity is demonstrated. The video also shows how to use a breadboard power supply and mentions the flexibility of using different power sources, not limited to batteries as indicated in schematics.
📉 Analyzing Circuits with Schematic Symbols and Ohm's Law
This section introduces circuit analysis, using schematic symbols and Ohm's law to calculate current and voltage drops across components. The video provides an example of estimating current through an LED circuit and the importance of selecting the right resistor value to prevent component damage. The concept of ground as a common reference point for negative rails in multiple power supplies is also discussed.
🔋 Measuring Voltage and Current in Circuits
The speaker demonstrates how to measure voltage and current in a circuit using a multimeter. The process of measuring the power supply voltage, voltage across components like resistors and LEDs, and the current flowing through the circuit is shown. The video explains the importance of understanding ground references and how to interpret negative readings. It also covers the impact of semiconductor properties on voltage measurements and the use of a multimeter to verify circuit calculations.
🛠 Final Thoughts on Circuit Analysis and Measurement Techniques
The final paragraph wraps up the video with a summary of the key points covered, including circuit analysis and the practical use of a multimeter for measuring circuit parameters. The importance of understanding schematics with analytical information and the value of hands-on measurement for verifying circuit behavior are emphasized. The video concludes with a reminder of the simplicity of circuits and the ease of learning through breadboarding.
Mindmap
Keywords
💡Schematic Diagram
💡Resistor
💡Ohm
💡LED (Light Emitting Diode)
💡Polarization
💡Wattage Rating
💡Breadboard
💡Power Supply
💡Switch
💡Ohm's Law
💡Multimeter
Highlights
Introduction to a series of videos on schematic diagrams with a focus on electronics components.
Explanation of resistor symbols and their common representations in schematic diagrams.
Identification of resistor wattage ratings and the importance of not exceeding half of the rated value.
Difference between color bands of resistors indicating their tolerance levels.
Overview of LED sizes and their common uses in electronics.
Discussion on the polarization of LEDs and how to identify the anode and cathode for proper wiring.
Introduction to schematic symbols for power supplies and different ways to indicate voltage.
Description of various types of switches and their schematic symbols.
Explanation of single pole single throw switches and their function in a circuit.
Demonstration of building a simple LED circuit with a switch and a resistor.
Importance of using a breadboard for learning and building circuits.
Discussion on the use of multimeters for verifying circuit values such as voltage and current.
Explanation of Ohm's law and its application in calculating current in a circuit.
Practical demonstration of measuring voltage across components in a circuit.
Clarification on measuring current in a circuit by opening the circuit and using a multimeter.
Emphasis on the importance of staying within the rated limits of components to prevent damage.
Final thoughts on circuit analysis and the value of understanding exact values of voltage and current.
Transcripts


5.0 / 5 (0 votes)
Thanks for rating: