Slumping Basics
TLDRThis video script offers an in-depth introduction to the glass slumping process, focusing on using commercial ceramic molds. It defines slumping, highlights the importance of mold selection, and details the preparation and firing process. The script emphasizes the need for a controlled firing schedule to achieve the desired glass form and explains how different mold materials and glass viscosities affect the outcome. It also stresses the value of observing and adjusting the slumping process for optimal results.
Takeaways
- 🔥 Slumping is a glass shaping process using heat, gravity, and molds in a kiln to create various forms.
- 📚 The lesson focuses on using commercially available ceramic molds for slumping glass.
- 📏 Slumping is a low-temperature process and should not be combined with high-temperature processes like fusing.
- 💡 Different materials and forms behave uniquely when heated and cooled, which is crucial for choosing the right slumping mold.
- 🏺 Ceramic molds are generally best for slumping due to their less expansion and contraction compared to glass.
- 🛠 A well-prepared ceramic mold should be durable, porous, smooth, and have vent holes for air escape.
- 🎨 The mold preparation process involves applying a separator, such as shelf primer, to prevent the glass from sticking.
- 🔄 Primer application requires careful handling and kiln drying to ensure the mold's readiness for slumping.
- 📐 Positioning the mold and glass correctly in the kiln is essential for even heating and slumping.
- 🔽 A suggested firing schedule is provided for slumping, including initial heat, rapid cool, anneal, and cool to room temperature steps.
- ⏱ The slumping temperature range is typically between 1180 to 1250 degrees Fahrenheit, depending on the glass and mold.
- 👀 Observing the slumping process can provide valuable insights for adjusting future firing cycles.
Q & A
What is slumping in the context of glass forming?
-Slumping is a kiln process that uses heat, gravity, and a mold to bend and sometimes stretch glass into a new shape.
What is the primary focus of the lesson presented in the script?
-The lesson focuses on slumping with commercially available ceramic molds, covering various aspects such as mold preparation, project setup, firing schedules, and monitoring the slumping process.
Why is it important not to combine slumping with higher temperature processes like fusing?
-Combining slumping with fusing can result in a misshapen piece that is likely to stick to the mold because slumping requires a cooler forming range.
What are the ideal characteristics of a good ceramic slumping mold?
-A good ceramic slumping mold should be made of durable, porous bisque-fired stoneware, have smooth surfaces to facilitate slumping, have vent holes to allow air escape, and have uniform wall thickness for even heating and cooling.
How should a ceramic mold be prepared for slumping?
-A ceramic mold should be prepared with a separator to prevent sticking. Mix 5 parts water to one part dry powder primer, apply 5 layers with a fine-bristled brush, and kiln dry the mold slowly to prevent breakage.
What is the suggested firing schedule for a six-millimeter piece in a 10-inch square slump mold?
-The schedule includes heating at 300°F per hour to 1180°F and holding for 5 minutes, rapid cooling to 900°F and holding for 1 hour, cooling at 100°F per hour to 700°F, and finally cooling as fast as possible to room temperature.
Why is visual confirmation of slumping in progress important?
-Visual confirmation helps in determining future firing cycles, as it provides information on how the glass is slumping and whether adjustments in temperature or hold times are needed.
What safety precautions should be taken when observing slumping progress in a front-loading kiln?
-Wear eye protection and natural fiber clothing, open the kiln door just enough to view the glass briefly, and open and close the door quickly to maintain even temperature within the kiln.
How should a mold be positioned in the kiln for optimal results?
-The mold should be centered in the kiln, placed at least two inches away from the elements, and elevated with shelf posts to promote even heating and cooling.
What factors should be considered when determining a firing schedule for thicker pieces of glass?
-Thicker pieces should be heated more slowly to promote uniform heating and avoid thermal shock. Their greater mass may cause them to slump at lower temperatures than thinner pieces, and different glasses' viscosities should also be considered.
Outlines
🔥 Introduction to Glass Slumping Techniques
This paragraph introduces the art of glass slumping, a process where heat and gravity are used to shape glass over molds in a kiln. It focuses on using commercially available ceramic molds and covers the definition of slumping, the importance of choosing the right mold material, and the physical properties of glass during the heating and cooling process. The paragraph also explains the preparation of ceramic molds with a primer to prevent the glass from sticking and the basic steps for setting up a slumping project in the kiln, including considerations for a firing schedule and process temperature range.
🛠 Preparing and Using Ceramic Molds for Slumping
This section delves into the specifics of preparing ceramic molds for slumping, including the application of shelf primer and the importance of maintaining the mold's condition for multiple firings. It discusses the need for reapplication of primer on molds with certain profiles and the process of removing old primer. The paragraph also provides guidance on positioning the mold and glass within the kiln for optimal results and outlines a suggested firing schedule for a six-millimeter piece, emphasizing the gradual heating and cooling process to achieve the desired slumped shape without causing damage to the glass or mold.
📈 Adjusting Firing Schedules for Different Glass Thicknesses and Viscosities
The final paragraph discusses the variables involved in slumping glass of different thicknesses and viscosities, and how these factors influence the firing schedule. It provides insights into the slumping behavior of various glass samples and the importance of visual confirmation during the slumping process. The paragraph suggests strategies for adjusting the firing cycle based on observation, such as using the skip segment function or extending the hold time at process temperature. It concludes with advice on making detailed observations and notes to refine slumping techniques and achieve consistent results.
Mindmap
Keywords
💡Slumping
💡Ceramic Molds
💡Kiln
💡Primer
💡Firing Schedule
💡Thermal Shock
💡Expansion and Contraction
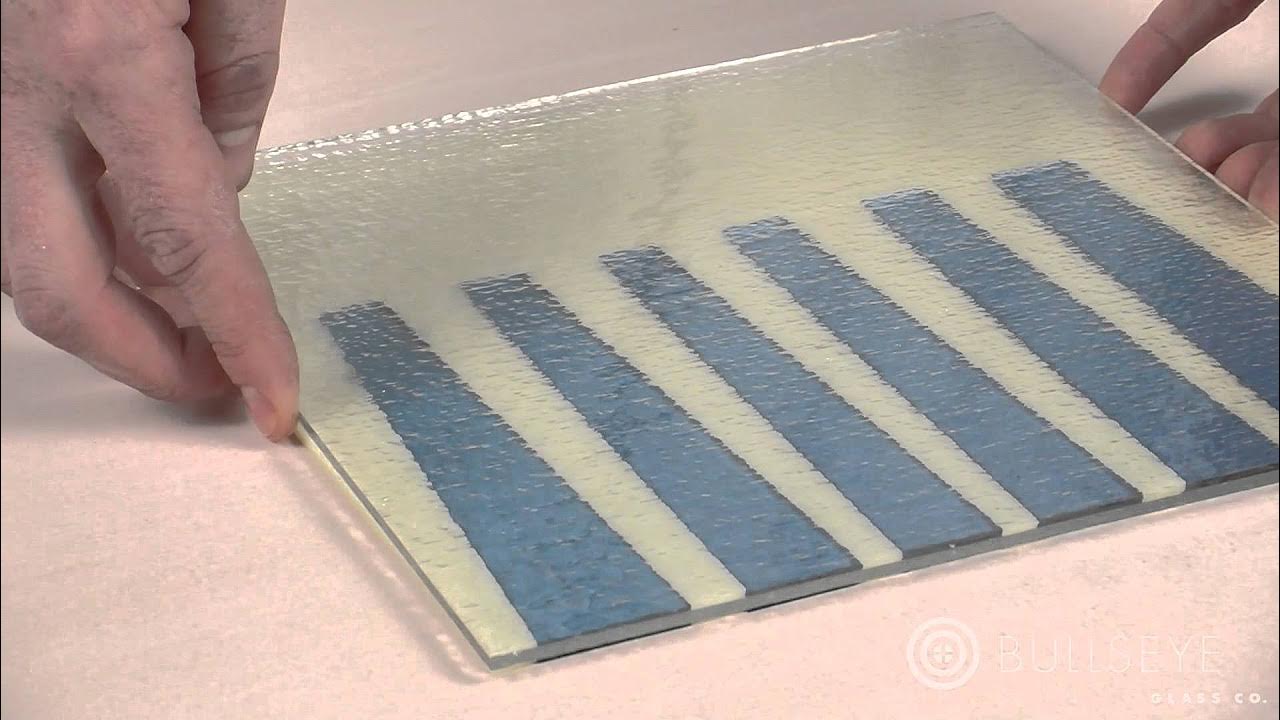
💡Texture
💡Uniform Wall Thickness
💡Viscosities
💡Observation
Highlights
Glass can be shaped and stretched over molds in a kiln, creating a variety of forms through the process of slumping.
Slumping focuses on using commercially available ceramic molds and is a relatively low-temperature process.
Attempting to fuse and slump in one step can result in misshapen pieces stuck to the mold.
Slumping molds should allow glass to expand and contract freely without resistance during the heating and cooling process.
Ceramic molds are best suited for slumping due to their minimal expansion and contraction compared to glass.
Ceramic molds should be durable, porous, and have smooth surfaces to facilitate slumping without imparting unwanted texture.
Vent holes in ceramic molds are crucial for allowing air to escape between the glass and mold.
A ceramic mold must be prepared with a separator to prevent the glass from sticking during the firing process.
Primer application on molds involves mixing water and powder, applying multiple layers, and kiln drying to ensure adherence.
Mold profiles with gentle curves require less frequent reparation due to less primer disturbance during firing.
Handling primed molds requires care to maintain their prepared surfaces in good condition for slumping.
Positioning the mold in the kiln is critical for even heating and cooling, ideally in the center and elevated with shelf posts.
A suggested firing schedule for a 6mm piece includes initial heat, process soak, rapid cool, anneal soak, and cool to room temperature steps.
Most forms slump in a narrow temperature range of 1180 to 1250 degrees Fahrenheit, with adjustments based on mold and glass characteristics.
Thickness of the glass and its viscosity affect the firing schedule and the amount of heat work required for slumping.
Visual confirmation of slumping in progress is valuable for determining future firing cycles and making adjustments.
Observations and detailed notes are essential for learning and repeating successful slumping processes.
Mastering the basics of slumping with commercial ceramic molds opens up a world of glass shaping possibilities.
Transcripts
Browse More Related Video
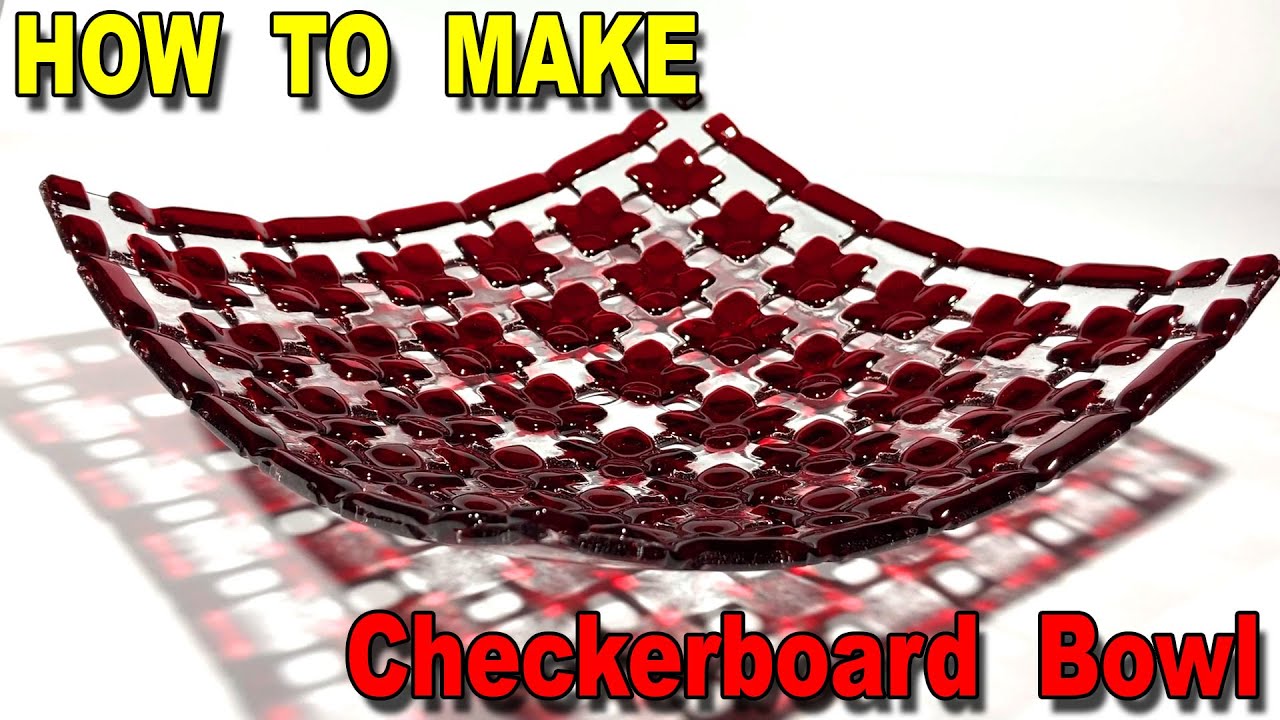
Fused Glass Checkerboard Bowl Using an Easy Technique, Glass Fusing Project
How to Use Fiber Products in Fusing | Delphi Glass

Using Fused Glass Jewelry Casting Molds
Preparation of TLC plate || preparation of thin layer chromatographic plate
Sample Application (Dry loading and wet loading ) in column chromatography || column chromatography
Fusing Basics
5.0 / 5 (0 votes)
Thanks for rating: