Using a Micropipet
TLDRThis educational video script introduces the use of an adjustable micropipette, a vital tool in molecular biology labs for measuring and transferring small liquid volumes. It outlines the parts of the micropipette, including the plunger button, tip ejector, volume adjustment knob, and digital display. The script covers the volume ranges and types of tips available, and provides step-by-step instructions on setting the desired volume, attaching a tip, and accurately transferring samples. It emphasizes the importance of proper technique to ensure airtight seals and precise measurements, crucial for laboratory accuracy and efficiency.
Takeaways
- 🧪 Micropipettes are essential tools in molecular biology labs for measuring and transferring small volumes of liquid.
- 🔧 The main parts of a micropipette include the plunger button, tip ejector button, volume adjustment knob, digital display window, shaft, and ejector arm.
- 📏 The volume range of a micropipette is indicated on the plunger button and covers ranges like 0.5-10, 2-20, 20-200, and 100-1000 microlitres.
- 🔢 The two numbers on the pipette represent the range within which it can measure volumes accurately.
- 💧 The first step is to ensure the correct size and type of tip is used for the samples being transferred.
- 📍 General pipetting tips come in three standard sizes and are color-coded to match the pipette's volume range.
- 🛡️ Specialized tips like aerosol barrier tips with a sterile filter and protein gel loading tips are available for specific purposes.
- ⚙️ To set the volume, turn the volume adjustment knob until the desired volume appears in the digital display window.
- 📉 The volume is read from top to bottom, with the bottom digit in red indicating tenths of a microlitre.
- 🚫 Ensure a good airtight seal between the pipette and the tip by applying gentle but firm pressure.
- 🔬 To obtain a sample, press the plunger button to the first stop and hold it while placing the tip into the sample tube.
- 💉 To transfer the sample, release the plunger button slowly and then depress it again to the second stop for complete dispensing.
Q & A
What is the primary purpose of an adjustable micropipette in a molecular biology laboratory?
-An adjustable micropipette is used to measure and transfer small volumes of liquid in a molecular biology laboratory.
What are the main parts of a micropipette mentioned in the script?
-The main parts of a micropipette include the plunger button, tip ejector button, volume adjustment knob, digital display window, shaft, ejector arm, and a disposable pipette tip.
Where can the volume range of a micropipette be found?
-The volume range for a micropipette can be found on the top of the plunger button.
What are the most commonly used ranges for micropipettes?
-The most commonly used ranges for micropipettes include 0.5 to 10 microlitres, 2 to 20 microlitres, 20 to 200 microlitres, and 100 to 1,000 microlitres.
What do the two numbers on a micropipette indicate?
-The two numbers indicate the range between which the pipette can measure with accuracy.
What is the first step in using a micropipette?
-The first step in using a micropipette is to ensure you are using the correct size and type of tip for the samples you will be transferring.
What are the three standard sizes of tips for general pipetting?
-The three standard sizes of tips for general pipetting are 0.5 to 10 microlitres, 2 to 20 microlitres, and 20 to 200 microlitres.
What are specialized tips used for and what are some examples?
-Specialized tips are made for a variety of purposes, such as aerosol barrier tips with a sterile filter to prevent contamination, and protein gel loading pipette tips designed with a narrow tip to slide easily between mini vertical acrylamide gel plates.
How do you set the volume on a micropipette?
-To set the volume on a micropipette, you simply turn the volume adjustment knob until the desired volume appears in the digital display window.
What is the significance of the 'soft stop' and 'hard stop' on the plunger button?
-The 'soft stop' is the calibrated measurement, and if you continue pressing from there, you will reach a 'hard stop', which is used to aid in dispensing liquid completely out of the tip by providing a little burst of air.
How should you hold the micropipette when obtaining a sample?
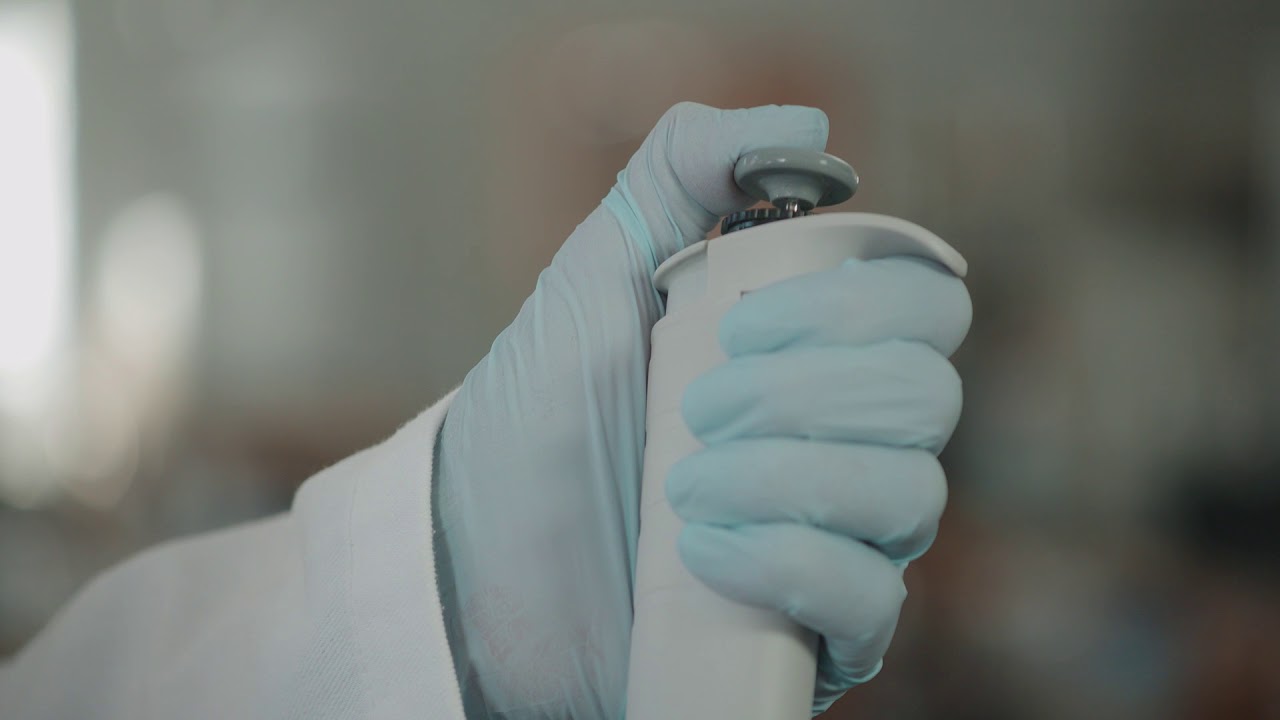
-When obtaining a sample, you should hold the micropipette with your fingers wrapped around it, with your thumb on the plunger button.
What is the correct procedure for withdrawing a sample using a micropipette?
-To withdraw a sample, press the plunger button to the first stop and hold it there as you place the pipette tip into the tube. Then, withdraw the sample by slowly releasing the plunger button.
How should you transfer a sample using a micropipette?
-To transfer a sample, place the micropipette tip into a fresh microtube, slowly depress the plunger button, pausing at the first stop, then continue depressing until the second stop.
What should you do after removing the micropipette tip from the microtube?
-After removing the micropipette tip from the microtube, you can release the plunger button.
Outlines
🧪 Introduction to Adjustable Micropipettes
This paragraph introduces the adjustable micropipette, a vital tool in molecular biology labs for measuring and transferring small liquid volumes. It describes the parts of the micropipette, including the plunger button, tip ejector button, volume adjustment knob, digital display window, shaft, and ejector arm. The paragraph also explains the volume range typically found on the top of the plunger button and the most commonly used ranges for micropipettes. It emphasizes the importance of selecting the correct tip size and type for specific samples and mentions specialized tips like aerosol barrier tips and protein gel loading pipette tips.
🔢 Setting the Correct Volume on a Micropipette
The second paragraph focuses on the process of setting the correct volume on a micropipette. It instructs users to turn the volume adjustment knob until the desired volume is displayed on the digital window. The explanation includes how to read the volume, with a specific example of setting a 2 to 20 microlitre pipette to measure 6 microlitres. The paragraph also details the importance of creating an airtight seal by gently but firmly placing a disposable tip onto the pipette before use.
💧 Using the Micropipette to Transfer Samples
This paragraph outlines the steps for using a micropipette to transfer samples. It describes how to press the plunger button to the first stop (soft stop) for calibrated measurement and the use of the second stop (hard stop) to dispense liquid completely. The process includes placing the pipette tip into the sample tube near the bottom, withdrawing the sample by releasing the plunger button, and transferring it into a fresh microtube. The paragraph concludes with instructions on how to remove the tip from the microtube and release the plunger button after the transfer is complete.
Mindmap
Keywords
💡Micropipette
💡Volume Adjustment Knob
💡Digital Display Window
💡Plunger Button
💡Tip Ejector Button
💡Disposable Pipette Tip
💡Volume Range
💡Aerosol Barrier Tips
💡Protein Gel Loading Pipette Tips
💡Soft Stop and Hard Stop
💡Contamination
Highlights
Micropipettes are essential tools in molecular biology labs for measuring and transferring small liquid volumes.
An adjustable micropipette consists of a plunger button, tip ejector button, volume adjustment knob, digital display, shaft, ejector arm, and disposable pipette tip.
The volume range of a micropipette is indicated on the top of the plunger button.
Common volume ranges for micropipettes are 0.5-10, 2-20, 20-200, and 100-1000 microlitres.
Tips come in three standard sizes for general pipetting and are designed for specific purposes like aerosol barrier tips and protein gel loading tips.
Before using a tip, set the pipette to the desired volume using the volume adjustment knob.
The digital display window shows the selected volume, with the bottom digit in red indicating tenths of a microlitre.
To obtain a sample, press the plunger button to the first stop and hold it while placing the tip into the sample tube.
Withdraw the sample by slowly releasing the plunger button to complete the transfer.
Dispense the liquid by depressing the plunger button, pausing at the first stop, then continuing to the second stop.
When removing the micropipette tip from the micro tube, hold the plunger button down to prevent spillage.
The plunger has two stops; the soft stop is for calibrated measurement, and the hard stop aids in dispensing liquid completely.
Ensure a good airtight seal between the pipette and the tip by applying gentle but firm pressure.
Specialised tips are available for various purposes, enhancing the versatility of micropipettes in different laboratory applications.
The ejector arm is used to jet used tips, maintaining hygiene and safety in the lab.
Proper handling of the micropipette is crucial for accurate measurement and transfer of samples.
Using the correct size and type of tip is essential for the specific samples being transferred.
The process of using a micropipette involves careful calibration, precise control, and attention to hygiene.
Transcripts


5.0 / 5 (0 votes)
Thanks for rating: