Compounding Tips : Leveling a Balance
TLDRThis instructional video script guides viewers on how to properly level an electronic balance for accurate weighing. It emphasizes the importance of a level balance to avoid incorrect readings and instructs on using the level indicator and adjustable feet to correct any imbalances. The script provides step-by-step directions for adjusting the feet based on the air bubble's position, ensuring both vertical and horizontal leveling, and concludes with a mention of calibration as the next step.
Takeaways
- 📐 The importance of selecting a suitable location for an electronic balance to ensure accurate weight measurements.
- 🔧 Ensuring the balance is level before weighing to prevent incorrect readings.
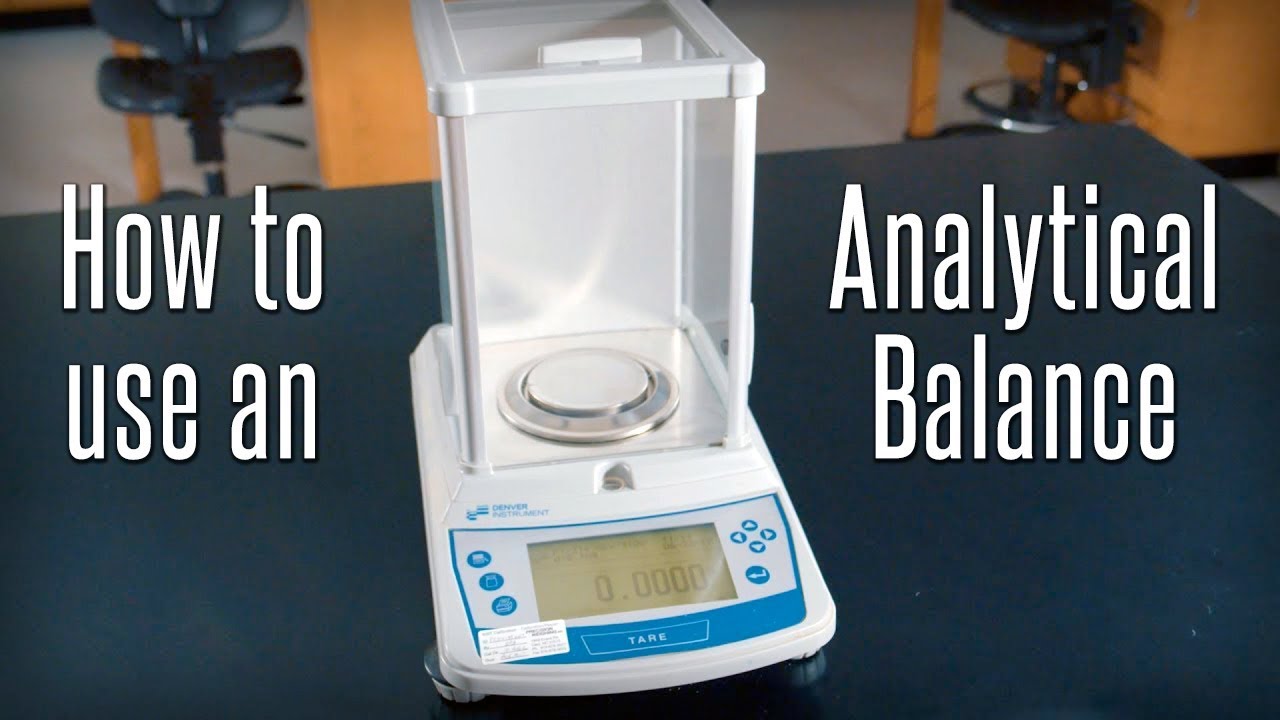
- 👁️ Checking the balance's level indicator, which uses an air bubble within a circle, to determine if the balance is level.
- 🔄 The balance should be leveled when the air bubble is centered in the circle on the indicator.
- 🔧 Some electronic balances have adjustable feet to compensate for minor countertop imperfections.
- ↔️ Turning the balance feet counterclockwise lowers the height, while turning them clockwise raises it.
- 📍 Starting with all feet at the lowest position helps to identify how the balance needs to be adjusted based on the air bubble's position.
- ↕️ The air bubble's position indicates whether the balance is too high or needs to be raised in a particular direction.
- 🔄 Adjusting the balance involves both vertical and horizontal leveling, depending on the air bubble's position.
- 🔄 If the balance is not level vertically, the back feet can be adjusted to correct the issue.
- 🔄 If the balance is not level horizontally, both the right and left back feet can be adjusted simultaneously to achieve leveling.
- 🛠️ Once the balance is level, it's time to proceed with calibration to ensure accurate measurements.
Q & A
Why is it important to ensure an electronic balance is level before weighing?
-An unlevel balance can produce incorrect weight readings, leading to inaccurate measurements of ingredients, which is crucial in many applications such as cooking, chemistry, or medicine.
How can you check if an electronic balance is level?
-You can check the level of an electronic balance by consulting the level indicator, which typically has an air bubble within a circle. The balance is considered level when the air bubble is centered in the middle of the circle.
What are the two types of balance leveling mentioned in the script?
-The two types of balance leveling mentioned are vertical leveling, where the balance is level from front to back, and horizontal leveling, where the balance is level from side to side.
How many adjustable feet does the balance in the script have?
-The balance in the script has two adjustable feet in the back, but it is mentioned that some models may have four adjustable feet.
What should you do if you need to lower the height of the balance feet?
-To decrease the height of the balance feet, you should turn the feet counterclockwise.
How do you adjust the balance if the air bubble is in the 6:00 position?
-If the air bubble is in the 6:00 position, it indicates that the front of the balance is higher than the back. Since the balance has only two adjustable back feet, you need to increase the height of the back feet by turning them clockwise to achieve vertical leveling.
What action should be taken if the air bubble is in the 3:00 position?
-If the air bubble is in the 3:00 position, it means the right side of the balance is higher than the left side. To adjust for horizontal leveling, you should turn the right back foot counterclockwise to lower the right side and the left back foot clockwise to raise the left side.
What does the 12:00 position of the air bubble indicate regarding the balance?
-If the air bubble is in the 12:00 position, it indicates that the back of the balance is too high. To correct this, you need to lower the back feet by turning them counterclockwise.
How should you adjust the balance if the air bubble is in the 9:00 position?
-If the air bubble is in the 9:00 position, it means the left side of the balance is too high. You need to lower the left side by turning the left back foot counterclockwise and raise the right side by turning the right back foot clockwise simultaneously.
What is the final step after leveling the balance according to the script?
-After leveling the balance, the script mentions moving on to the calibration process, which is an important step to ensure the accuracy of the balance's measurements.
Who is the global leader in continuing Healthcare education mentioned at the end of the script?
-The script mentions 'lp3 Network' as a global leader in continuing Healthcare education, although it does not provide further details about the organization.
Outlines
🔍 Leveling the Electronic Balance
The script provides a step-by-step guide on how to ensure an electronic balance is properly leveled before use. It emphasizes the importance of leveling to prevent incorrect weight readings and explains how to use the level indicator, which involves an air bubble within a circle. The script details the process of adjusting the balance's height using its adjustable feet, which can be turned counterclockwise to lower or clockwise to raise them. It also explains how to interpret the position of the air bubble to determine if the balance needs adjustment in height or to correct for horizontal or vertical imbalances. The goal is to center the air bubble within the circle to achieve a fully leveled balance, which is crucial for accurate weighing.
Mindmap
Keywords
💡Electronic Balance
💡Level Indicator
💡Adjustable Feet
💡Air Bubble
💡Counterclockwise
💡Clockwise
💡Leveling
💡Vertical Leveling
💡Horizontal Leveling
💡Calibration
💡Continuing Healthcare Education
Highlights
Ensure the electronic balance is level before weighing to avoid incorrect weight readings.
An unlevel balance can lead to weighing too much or too little of ingredients.
Check the balance's level indicator to see if the air bubble is centered within the circle.
The balance may have two or four adjustable feet to compensate for countertop imperfections.
Turn the balance feet counterclockwise to lower and clockwise to raise the height.
Start by adjusting all feet to the lowest position and check the air bubble's position.
If the air bubble indicates the balance is too high in a direction, adjust accordingly.
For a balance with two adjustable back feet, raise the back feet to level the front if it's higher.
If the balance is not horizontal, adjust the right back foot counterclockwise and left back foot clockwise.
When the air bubble is at 12:00, lower the back feet to achieve vertical leveling.
If the air bubble is at 9:00, lower the left side and raise the right side of the balance.
Use the guidelines to adjust the electronic balance feet for proper leveling.
After leveling, proceed to the calibration process.
LP3 Network is a global leader in continuing healthcare education.
The importance of leveling an electronic balance for accurate weighing.
How to use the level indicator and air bubble to check balance leveling.
Adjusting balance feet to compensate for an uneven countertop.
The process of leveling a balance with two adjustable back feet.
Correcting horizontal imbalance by adjusting both back feet simultaneously.
The significance of leveling before calibration in the balance setup process.
Transcripts


5.0 / 5 (0 votes)
Thanks for rating: